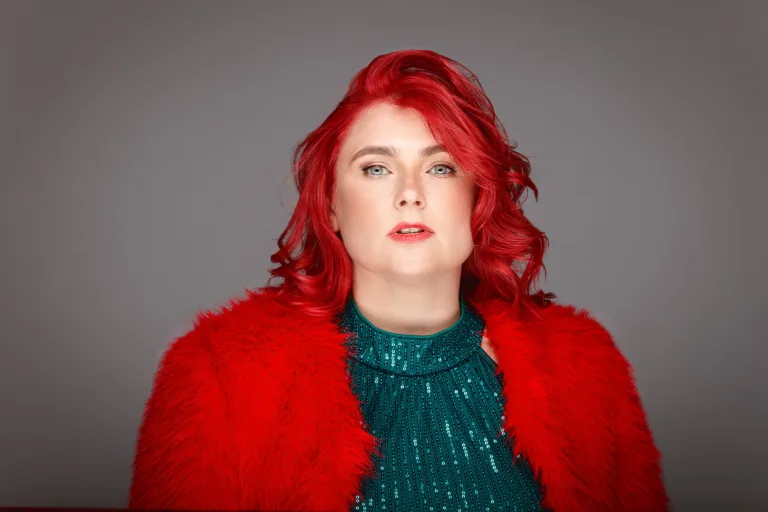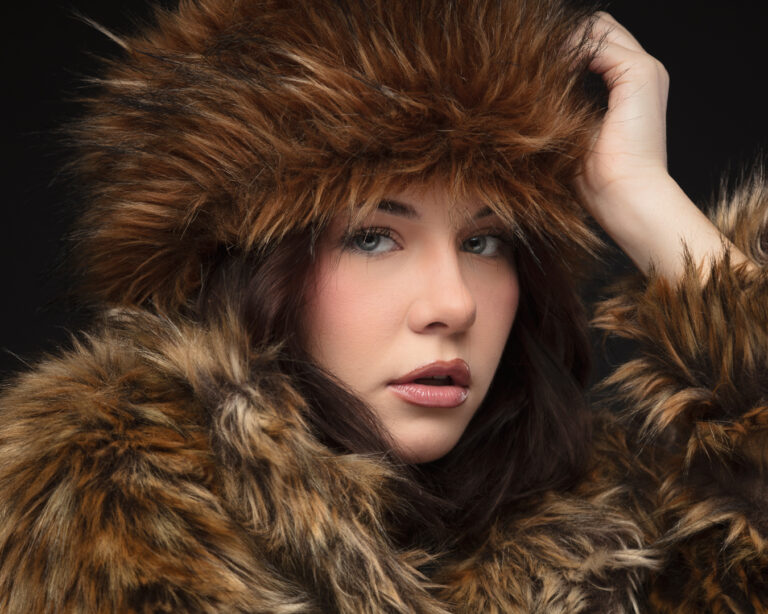
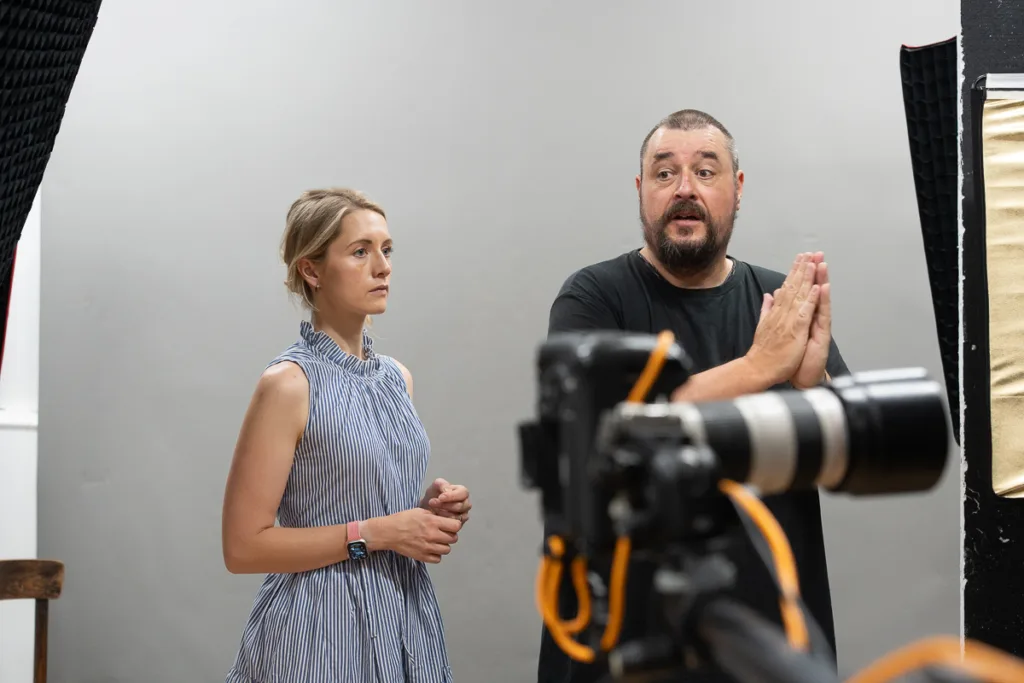
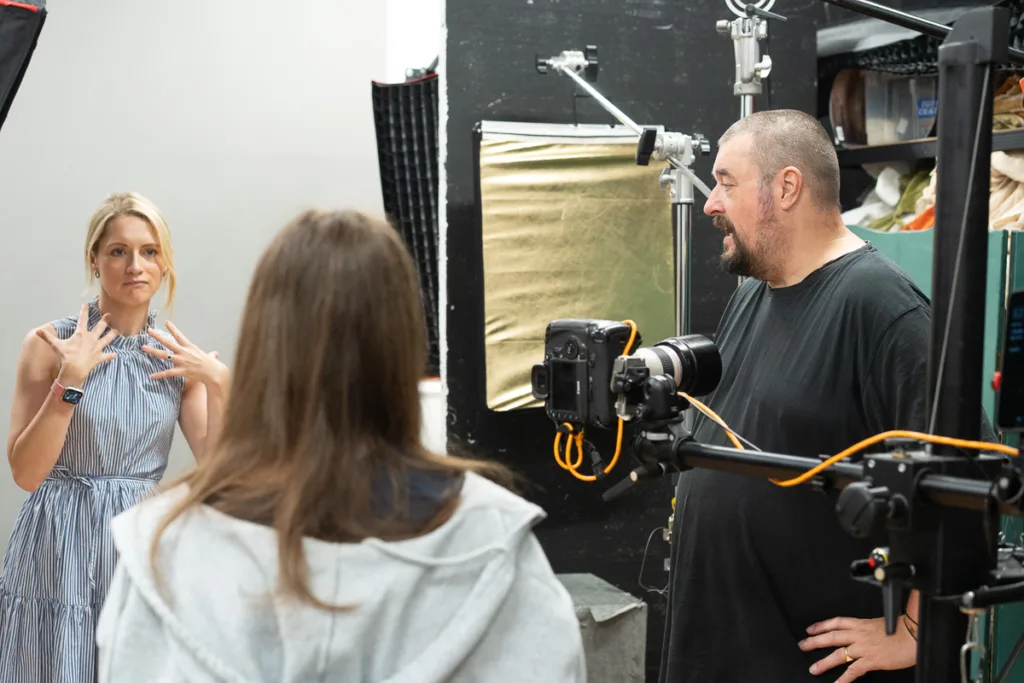
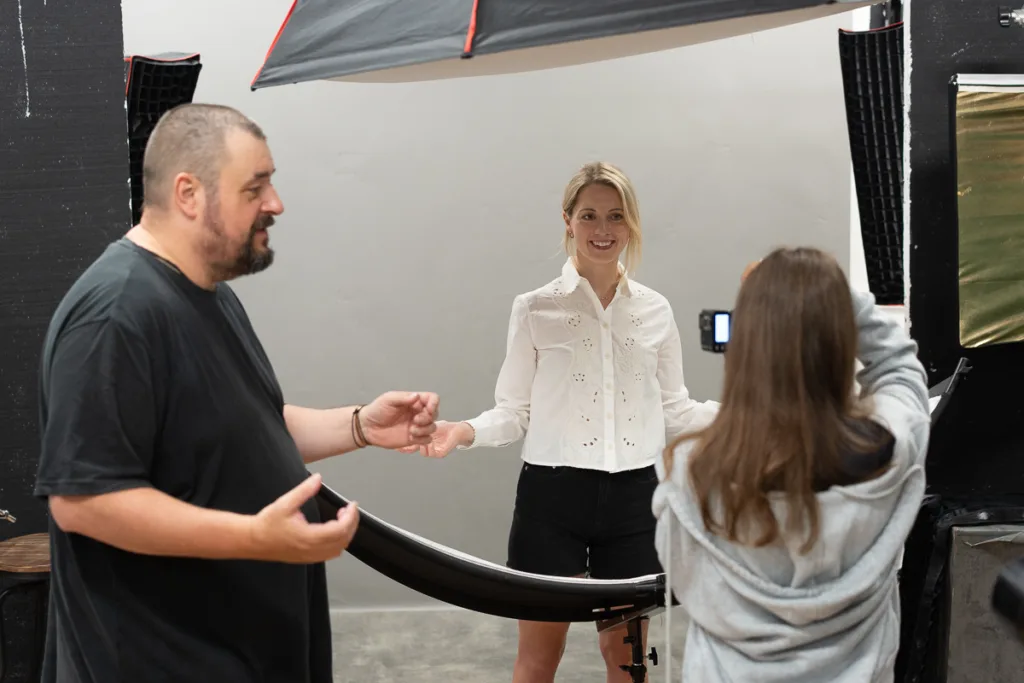
I recently hosted a one-to-one studio photography session with Sam, a 15-year-old student currently taking GCSE Photography. These sessions are tailored to the learner, and in this case, the focus was on understanding studio lighting, how different modifiers change the look of an image, and introducing essential photographic principles such as the inverse square law.
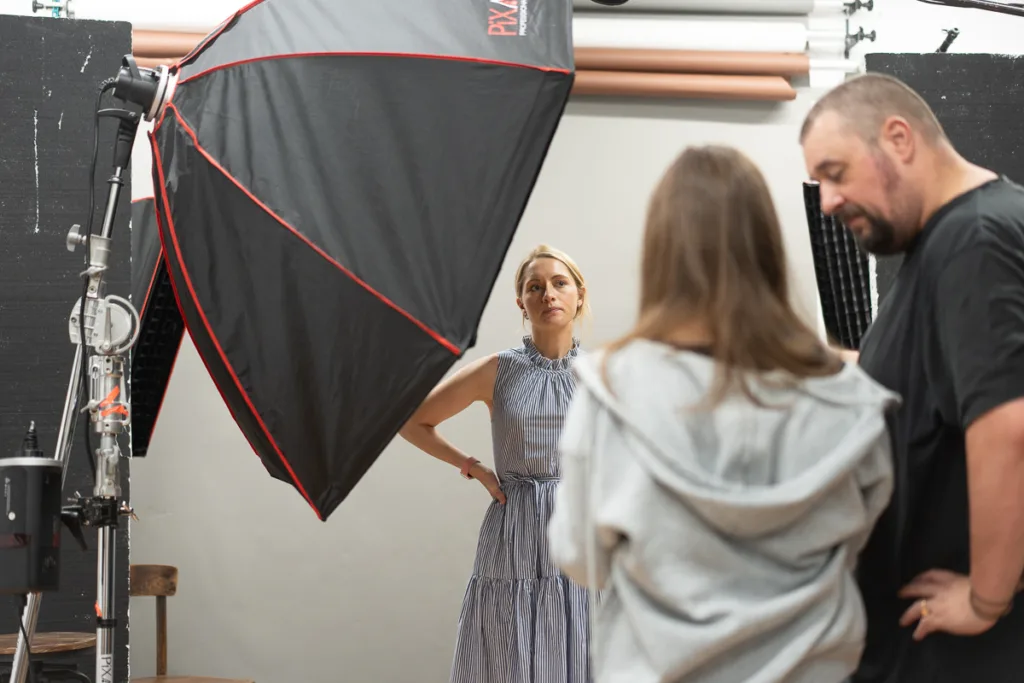
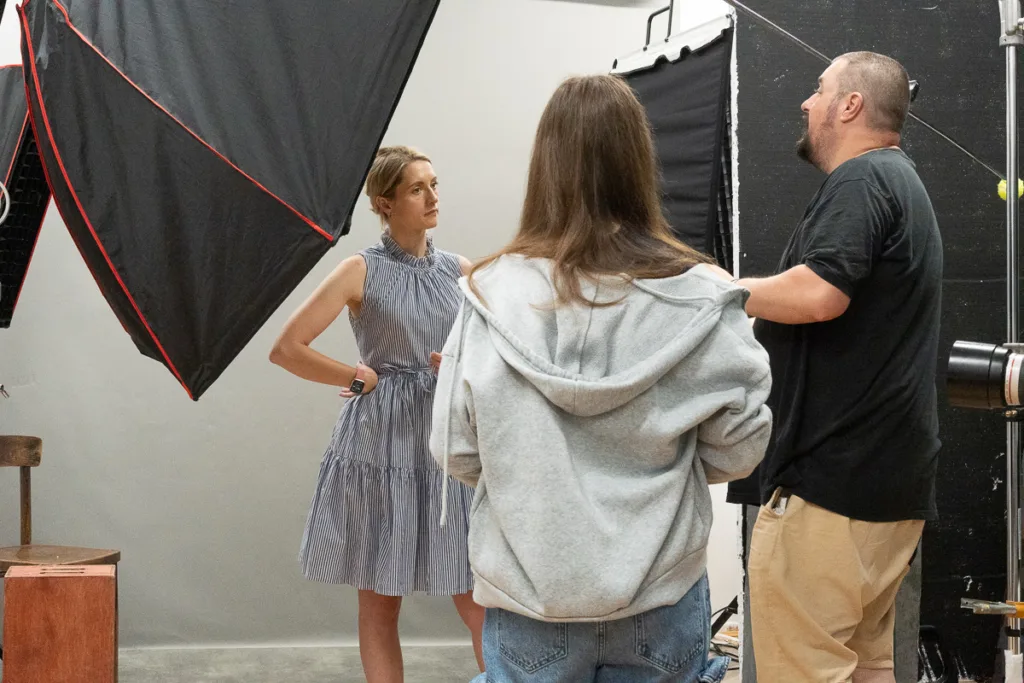
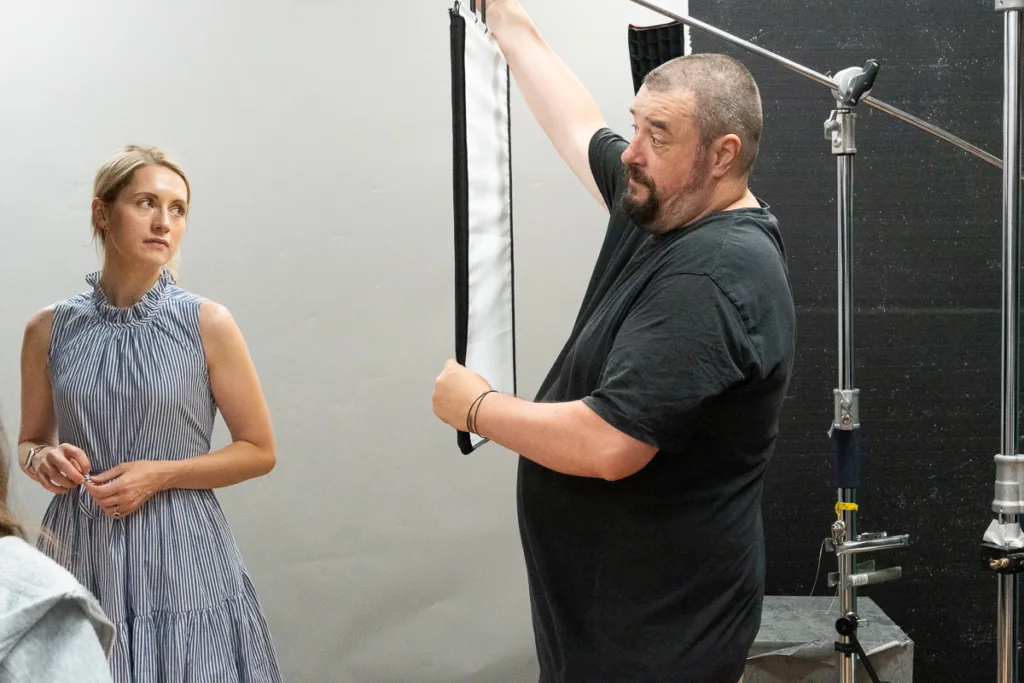
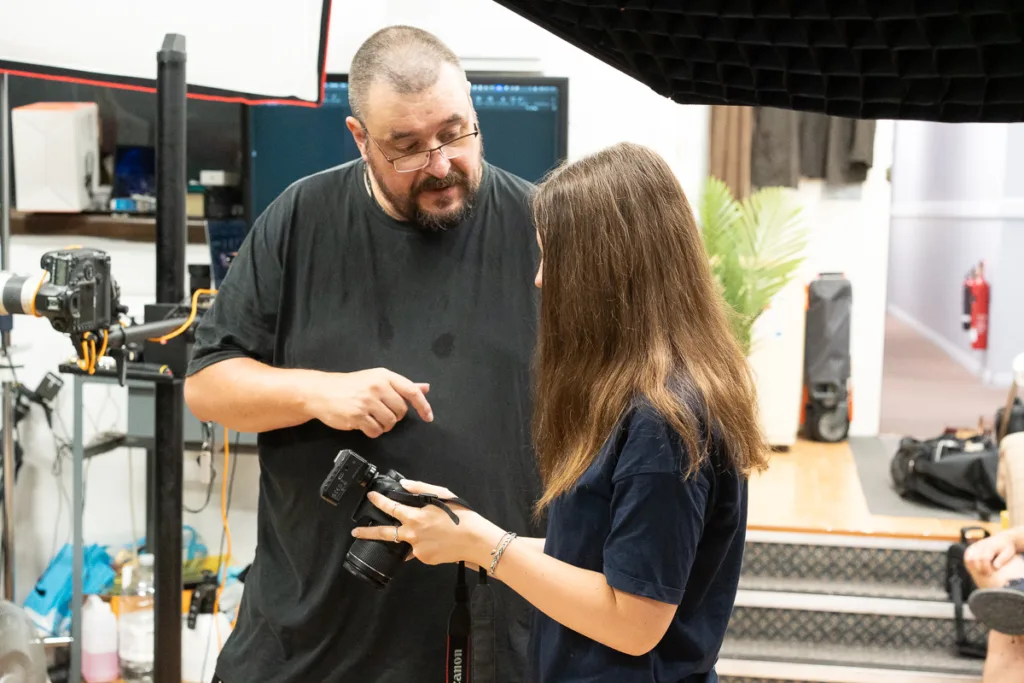
Sam arrived at the studio accompanied by her father, who attended as a chaperone. It’s standard for under-18s to bring a parent or guardian, and this always helps create a comfortable and supportive learning space. Alongside them was Chentelle, Sam’s chosen model for the session. This decision not only made the experience more personal but also reduced the cost, as I usually provide a model if needed for an additional fee. I’m happy to arrange that, but equally pleased when clients choose to bring someone themselves.
Chentelle was a fantastic choice. She was calm, engaging, and patient throughout, which made it easy for Sam to focus on learning. For someone just starting out in studio work, having a cooperative and friendly model really helps to build confidence and get the most out of the session.
Starting with Model Release and Copyright Basics
Before we got going, we covered something I always include in my workflow: the model release form. Every model who steps into my studio signs one, and I use this moment to explain why it matters. A model release is a legal agreement between the photographer and the model, giving permission to use the images for agreed purposes. It protects everyone involved and lays out clear expectations.
It’s important to understand that signing a model release doesn’t mean the model gives up their rights entirely, and it definitely doesn’t transfer copyright. The copyright of an image always remains with the photographer unless explicitly assigned otherwise. This is protected under UK copyright law. What the release form does is grant the model a license to use the images confidently for portfolio use, social media, or personal promotion within the limits agreed.
There can sometimes be confusion about this, especially for those new to the industry. I explained this carefully to Sam and made sure she understood that while she can use her photos of Chentelle for her coursework or portfolio, she can’t sell them or pass off the work as being for commercial use without proper licensing. At 15, it’s natural to find these things a bit daunting, but it’s never too early to learn. Understanding the basics of copyright and usage rights will help avoid issues later on, especially when working with clients or submitting work for publication.
Lighting Fundamentals and Modifiers
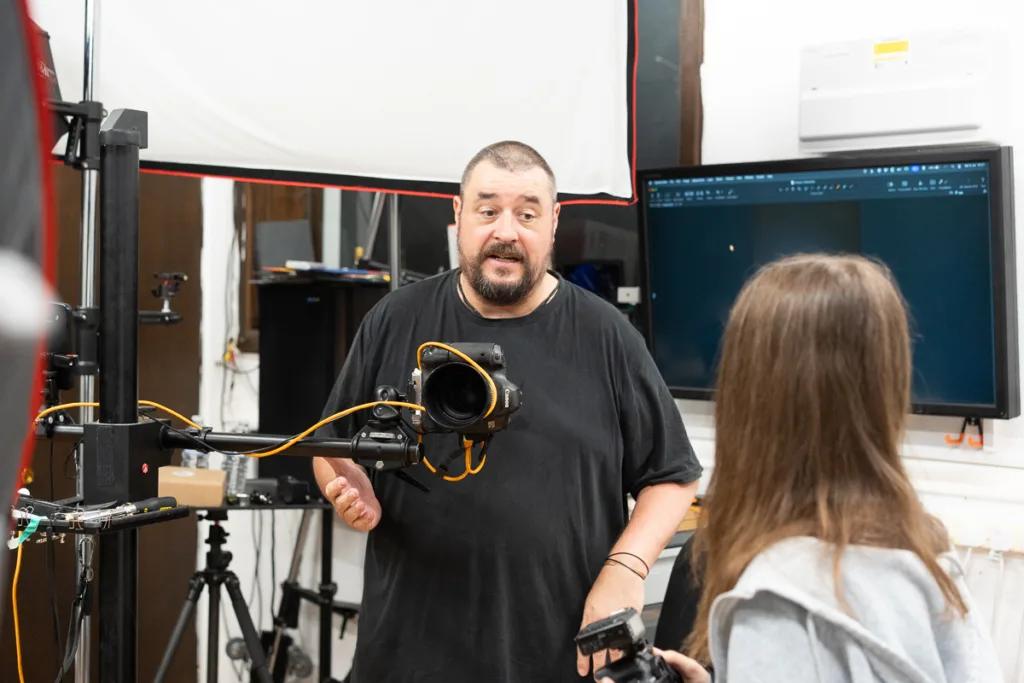
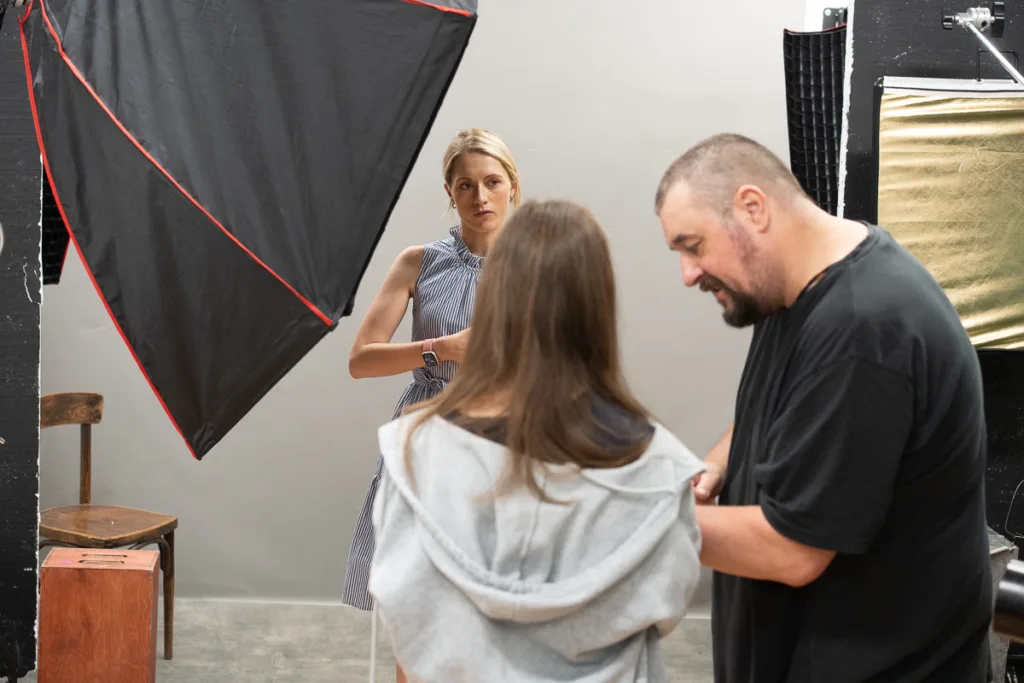
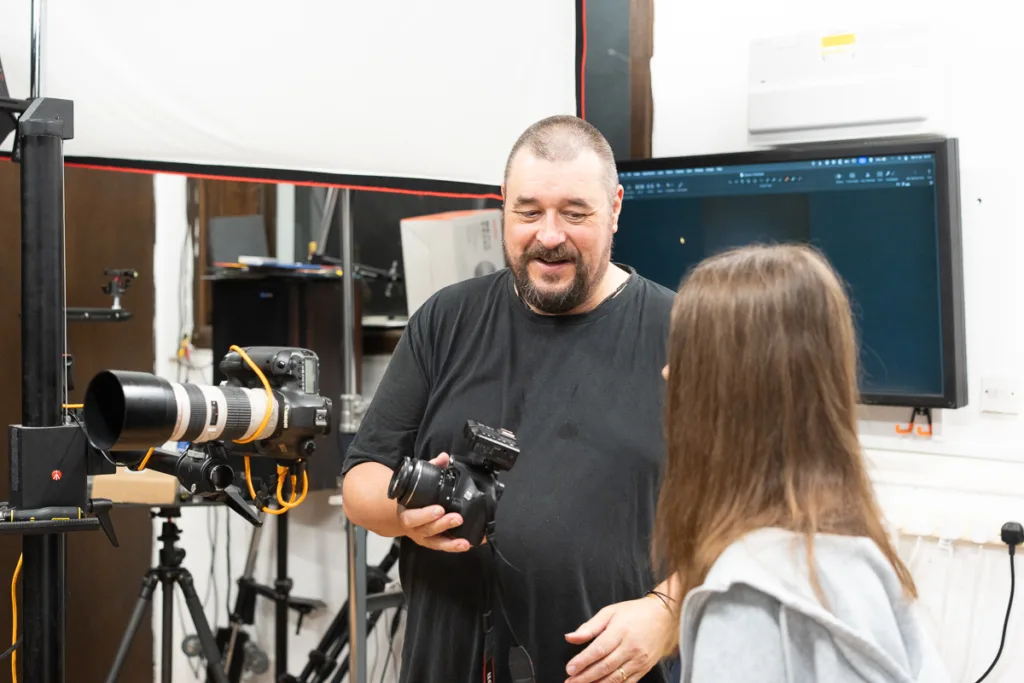
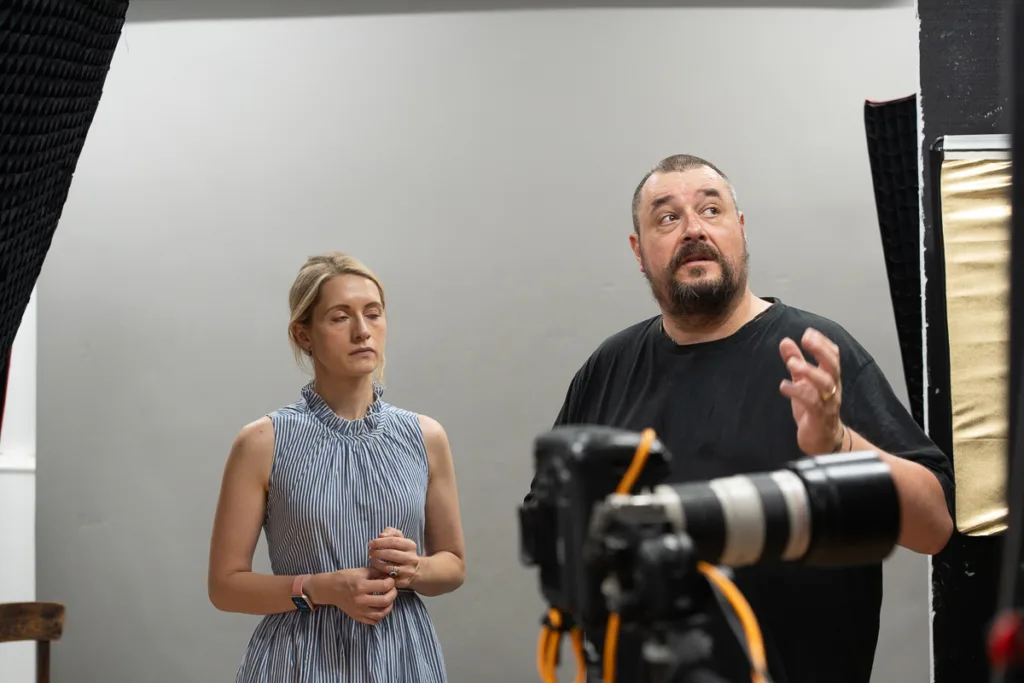
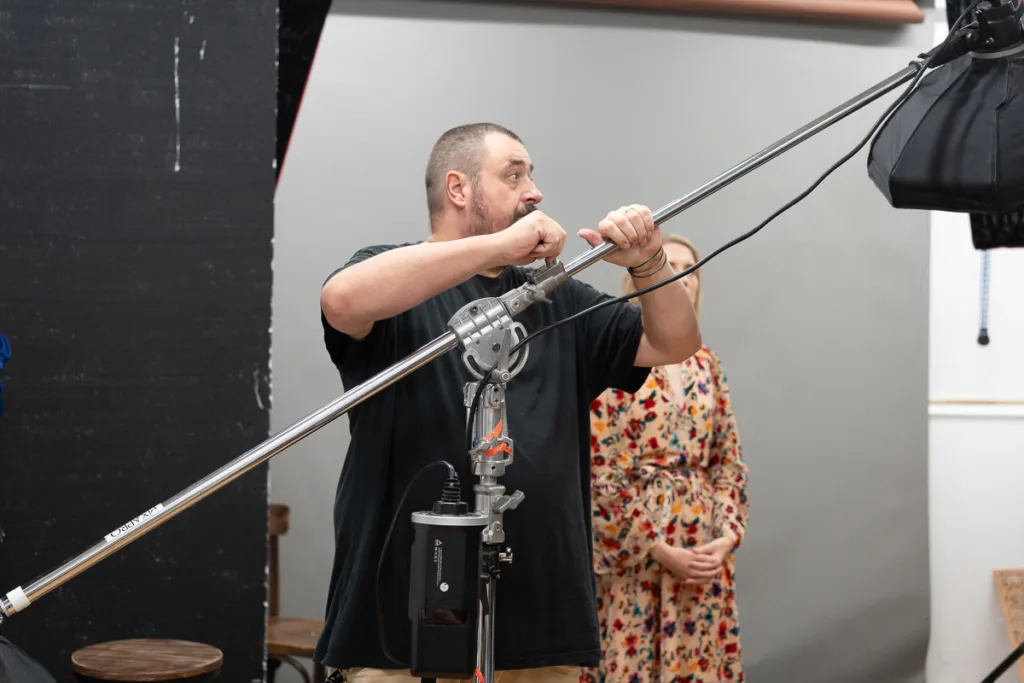
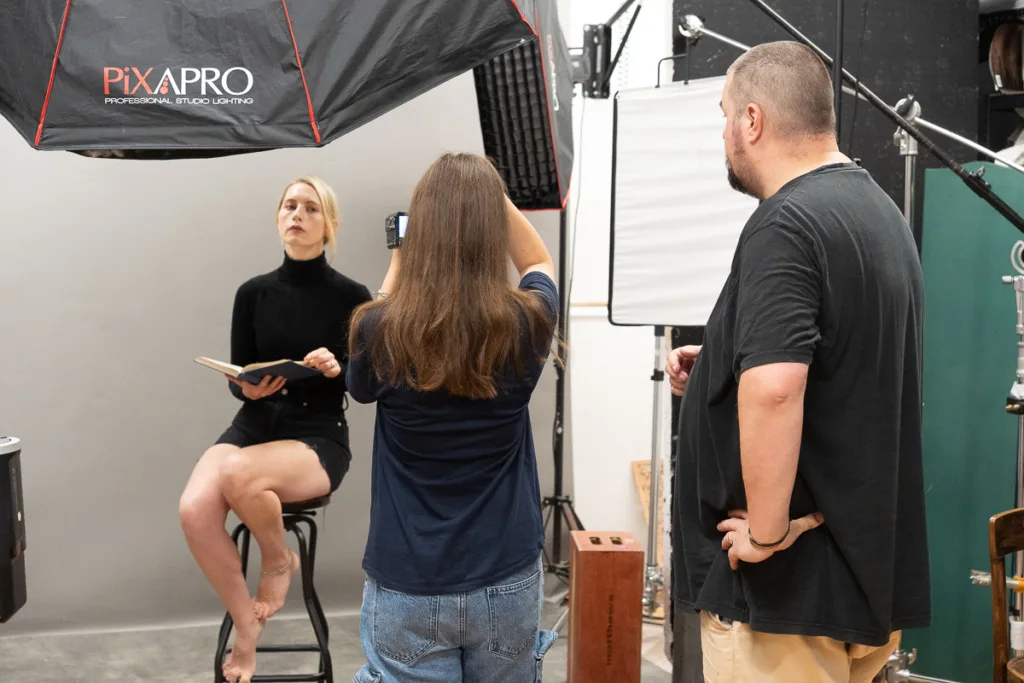
We began the session with a walk-through of the studio lighting equipment. I introduced Sam to the different types of lights I use and explained what each modifier does to the quality and direction of light. This included softboxes for creating soft, even light, strip lights for edge definition, and reflectors for lifting shadows and adding shape. We also talked about grids for controlling light spill and using bare bulbs for hard shadows and more dramatic looks.
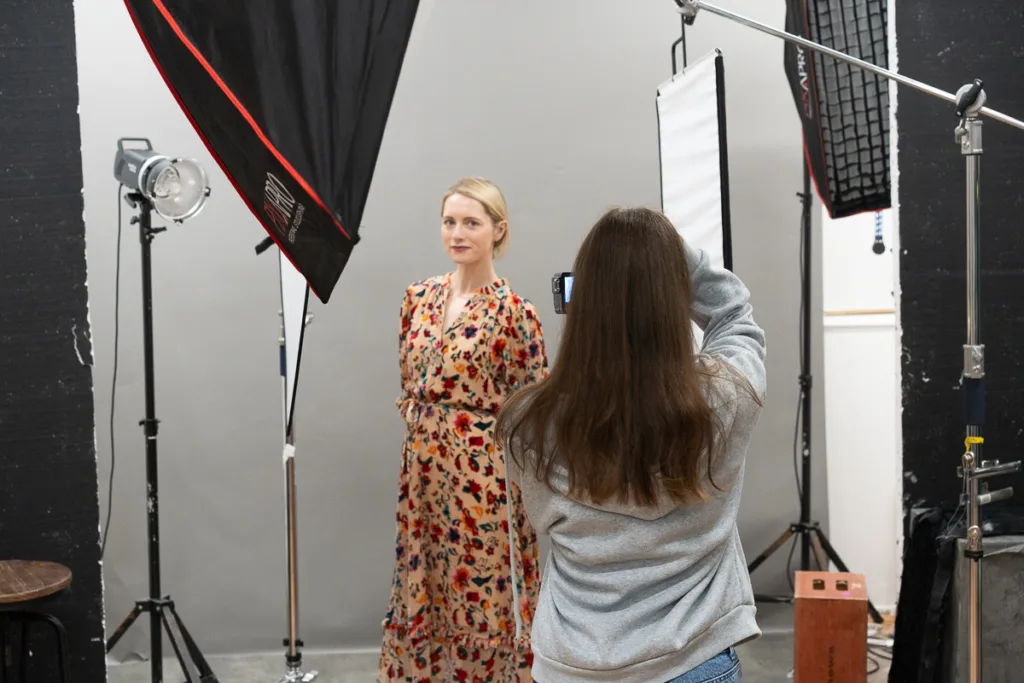
I demonstrated the way each setup changes the look and feel of a portrait, and Sam had a chance to try out a few combinations herself. I encouraged her to move the lights around, adjust heights, and look carefully at how the shadows fall on the model’s face. These small adjustments make a big difference and are vital to learn early.
Introducing the Inverse Square Law
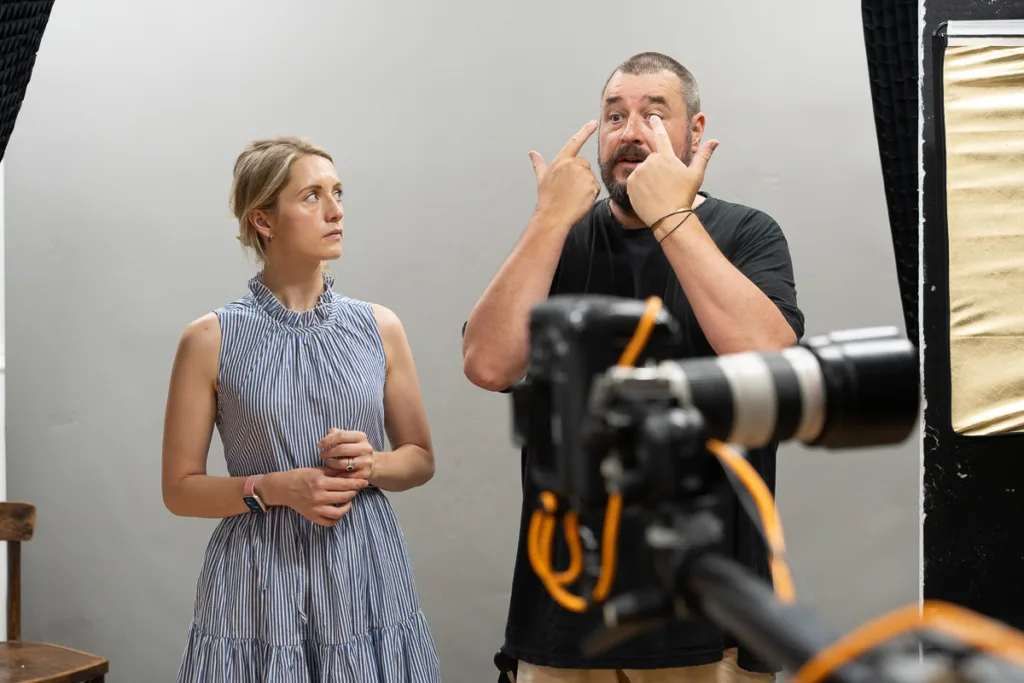
One of the core learning points of the day was introducing the inverse square law. This concept explains how light intensity falls off as the distance from the subject increases. It sounds technical, but the idea is actually very straightforward once you see it in practice.
Simply put, if you double the distance between the light source and your subject, the light doesn’t just become half as bright, it becomes a quarter as bright. If you move it further again, the falloff continues exponentially. This principle is key to understanding why lighting setups look the way they do and why certain positions create sharper contrasts or more evenly lit backgrounds.
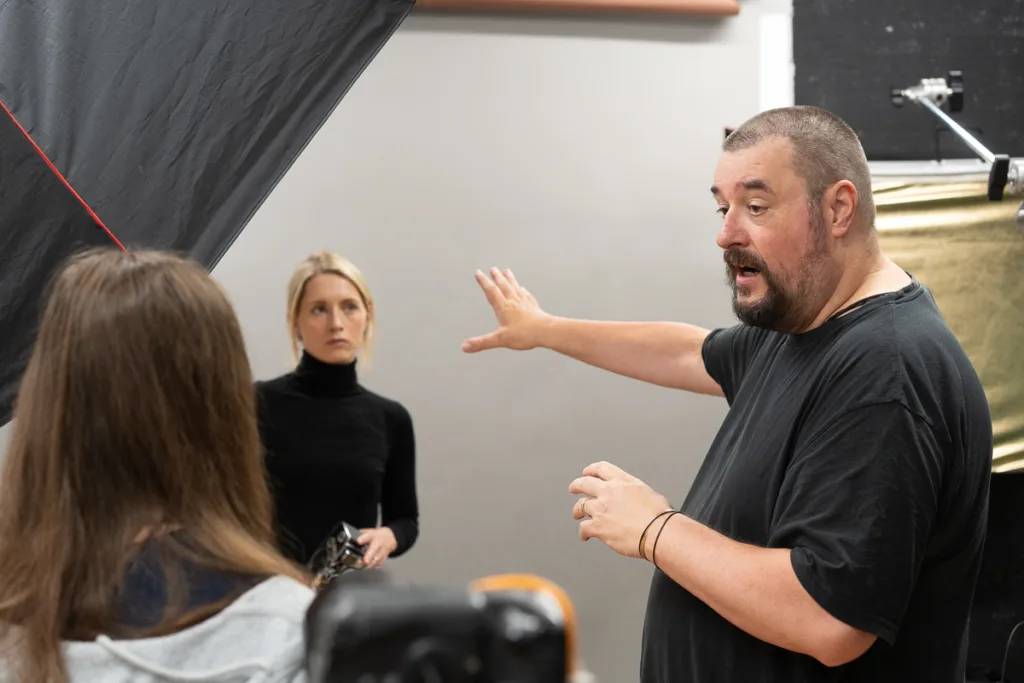
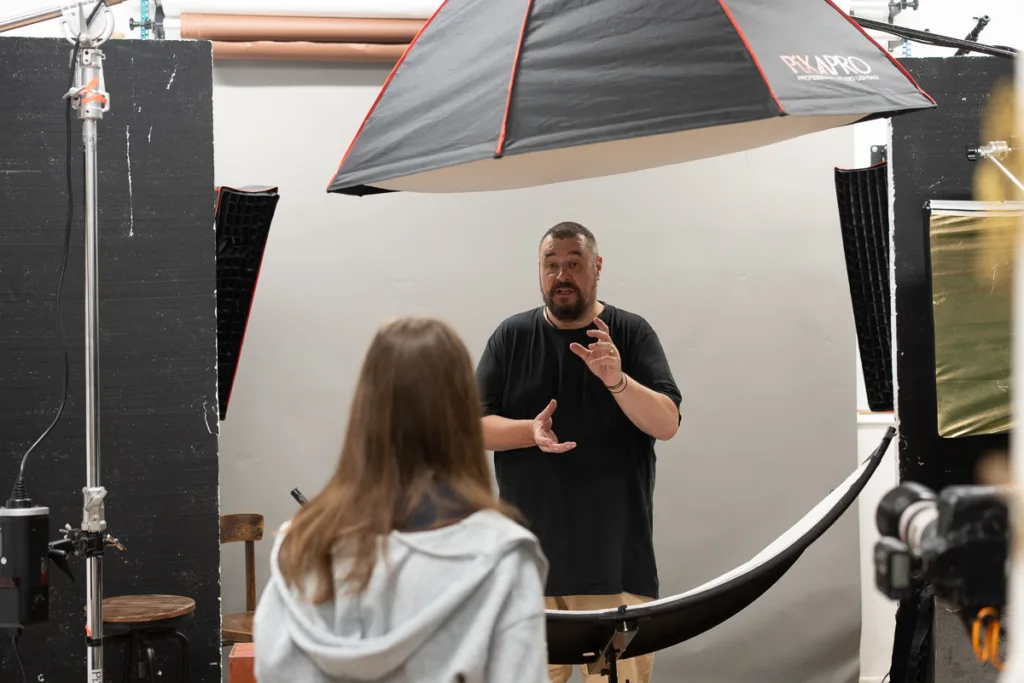
I showed Sam how placing a light closer to the model creates strong, directional light and faster falloff, making the background darker. Moving the light back floods more of the space but reduces the overall intensity on the subject. We did side-by-side comparisons so she could observe the effects clearly and see how it plays out in-camera.
Practice Time with Chentelle
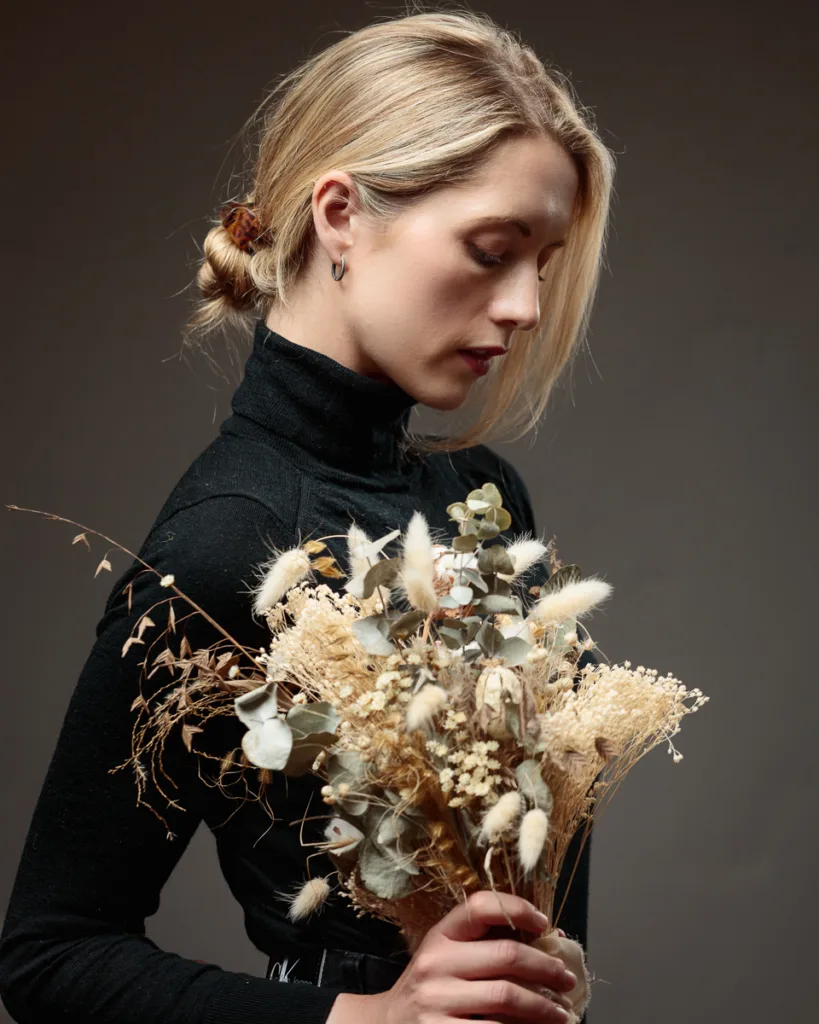
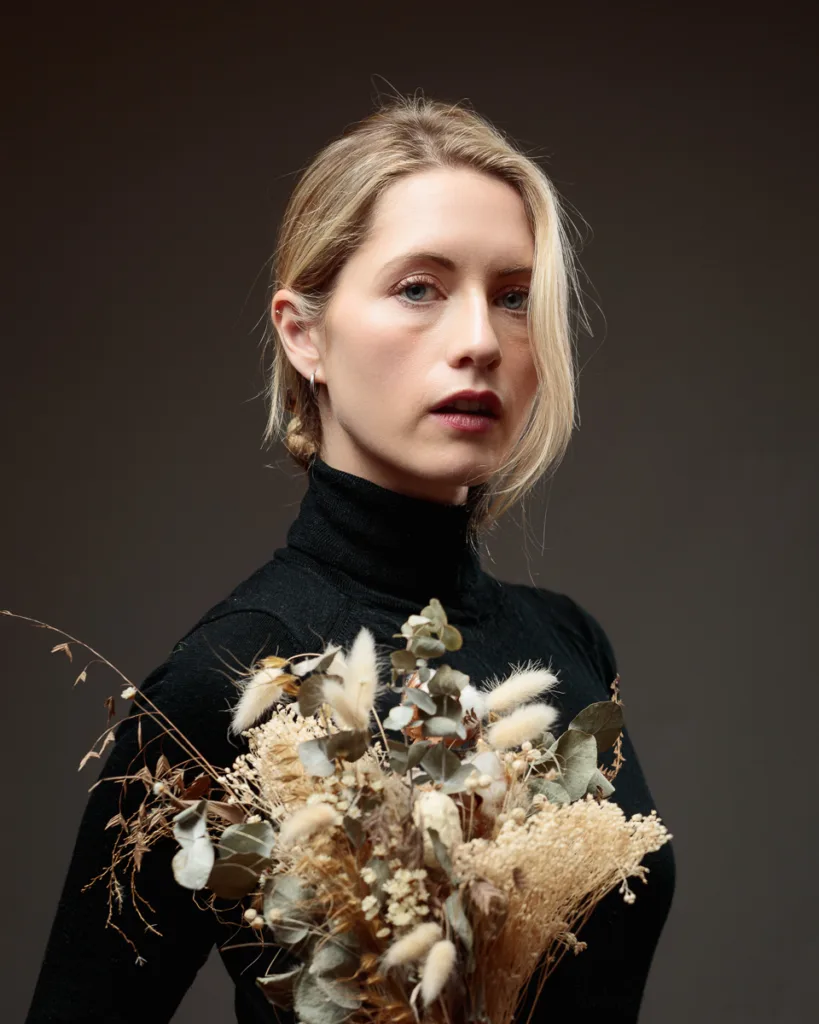
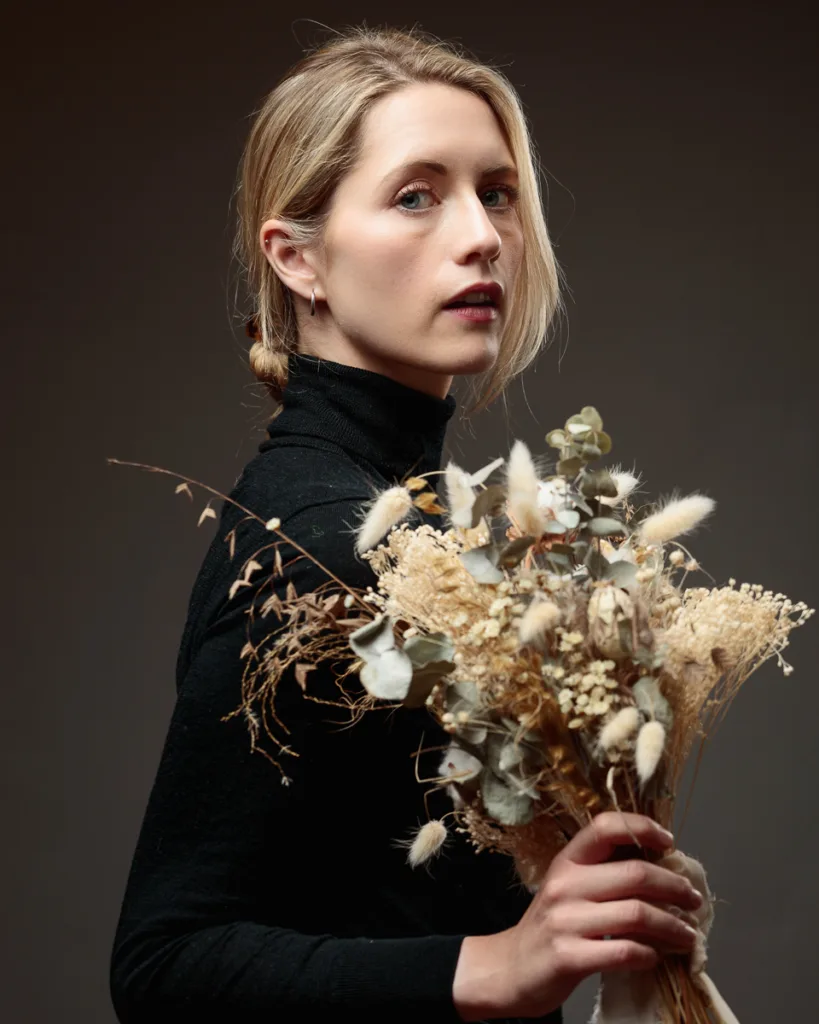
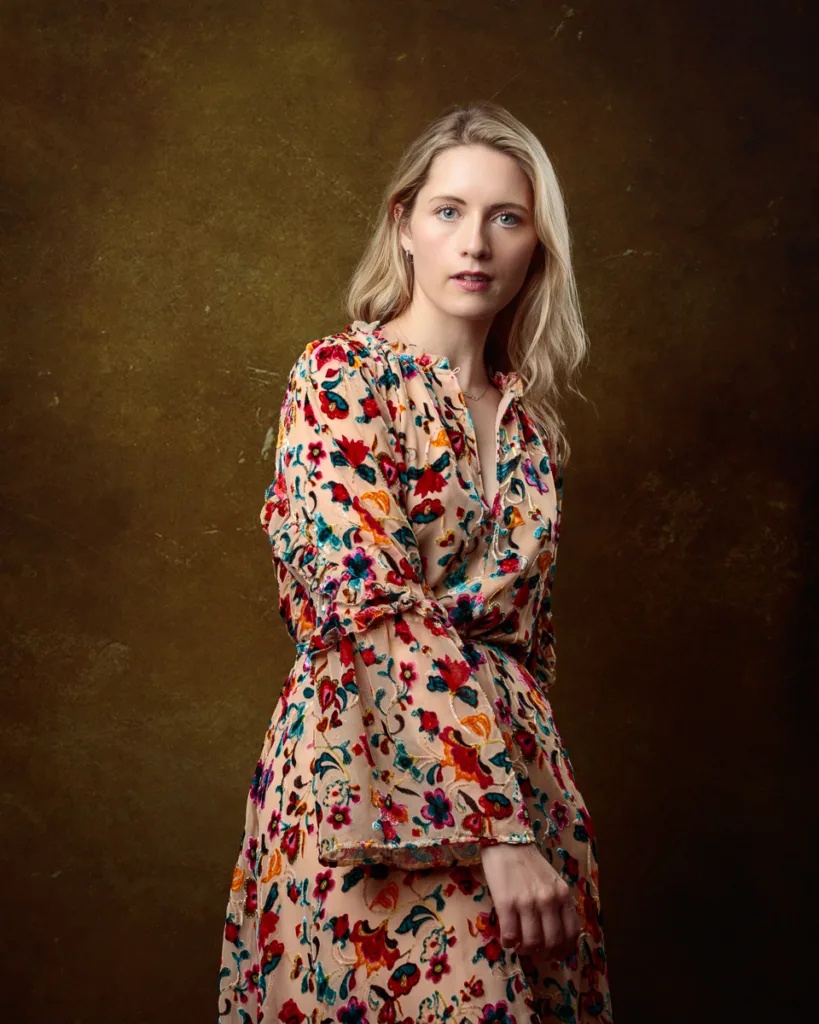
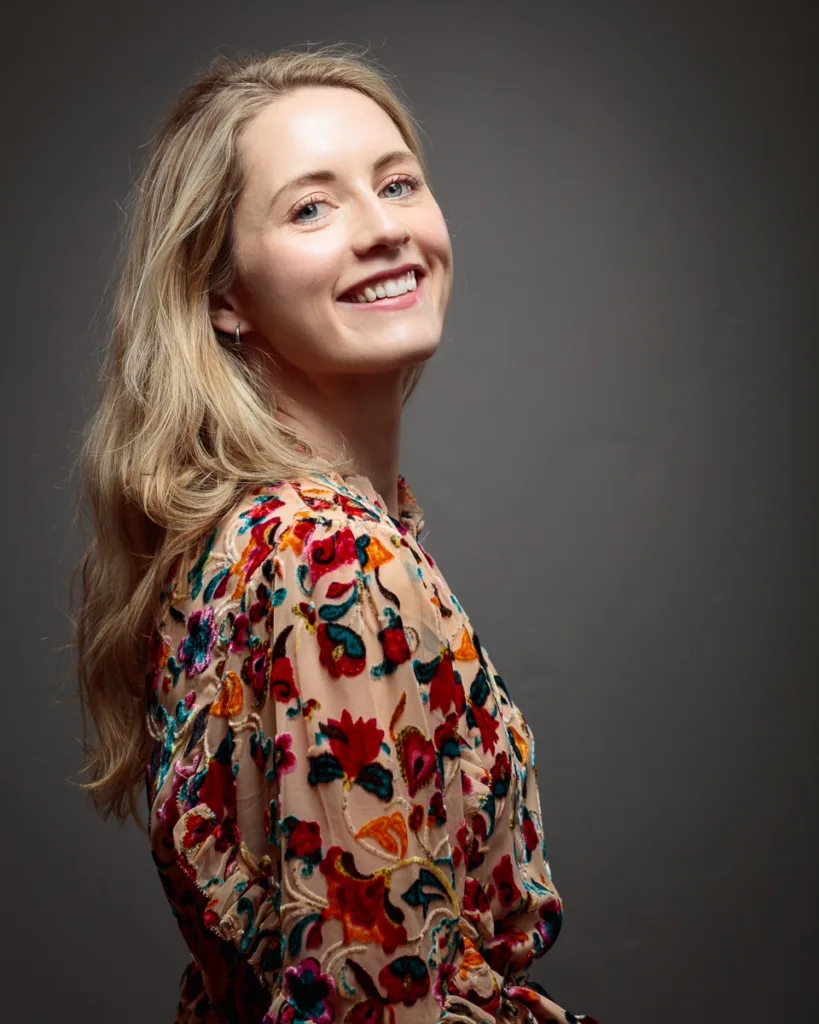
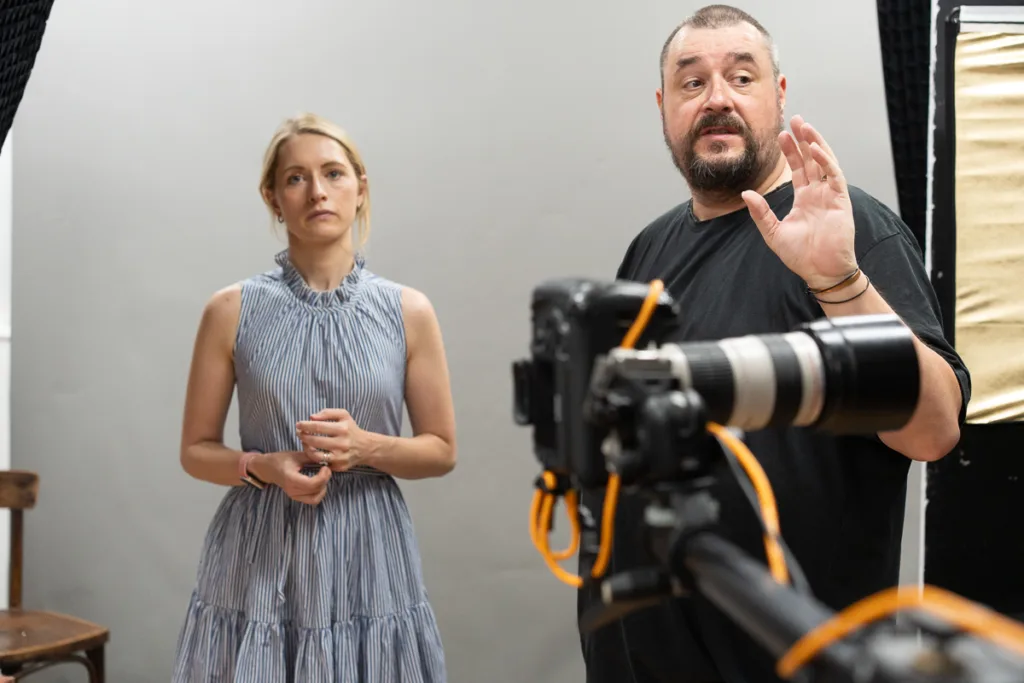
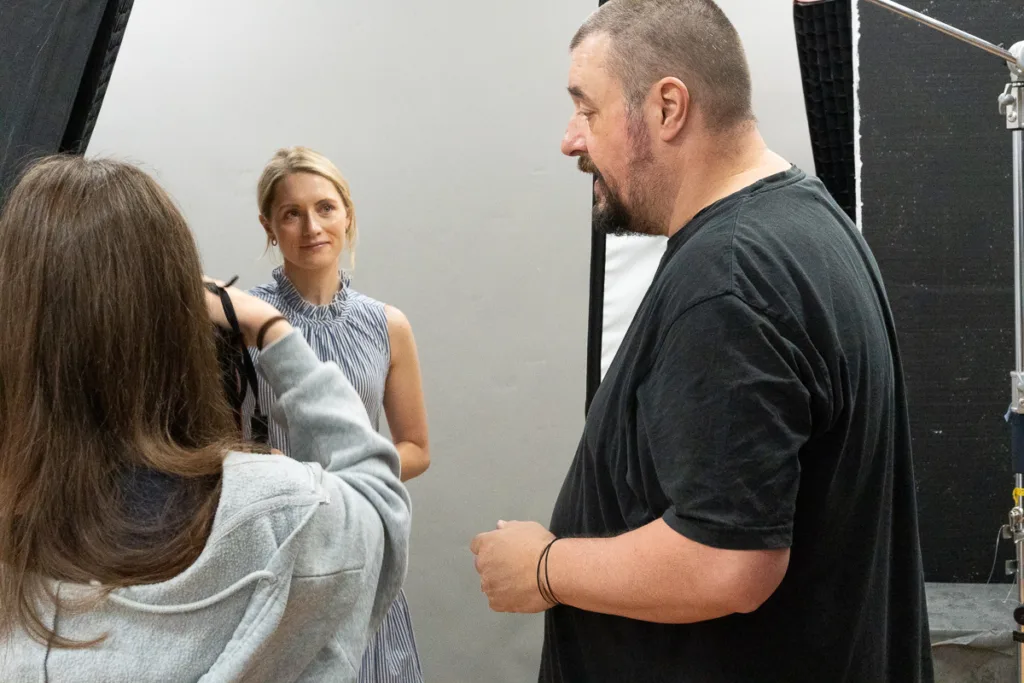
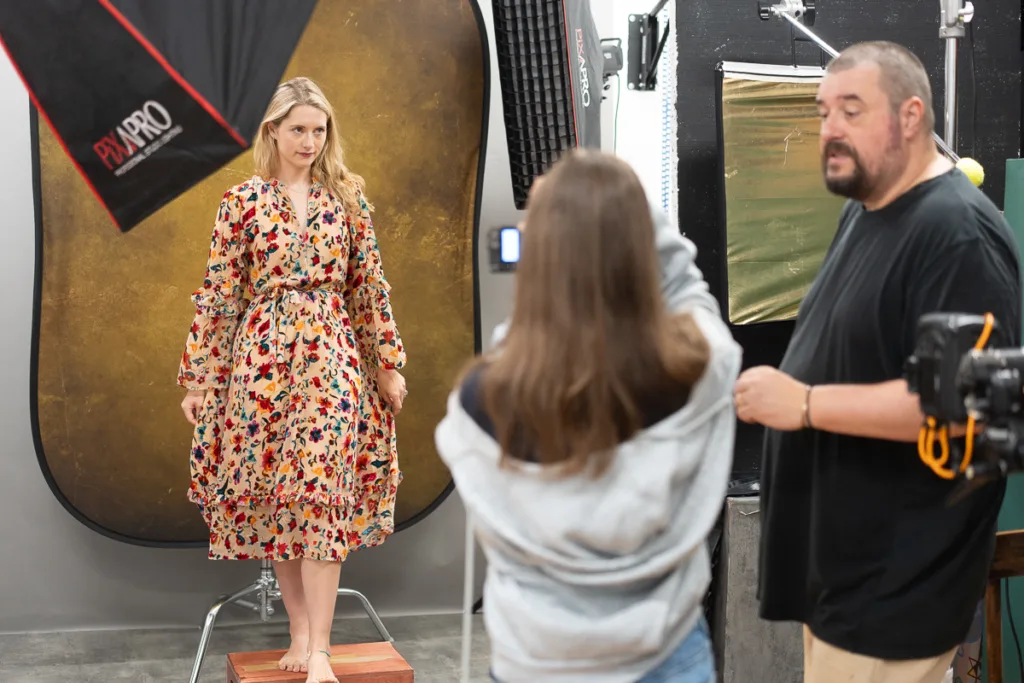
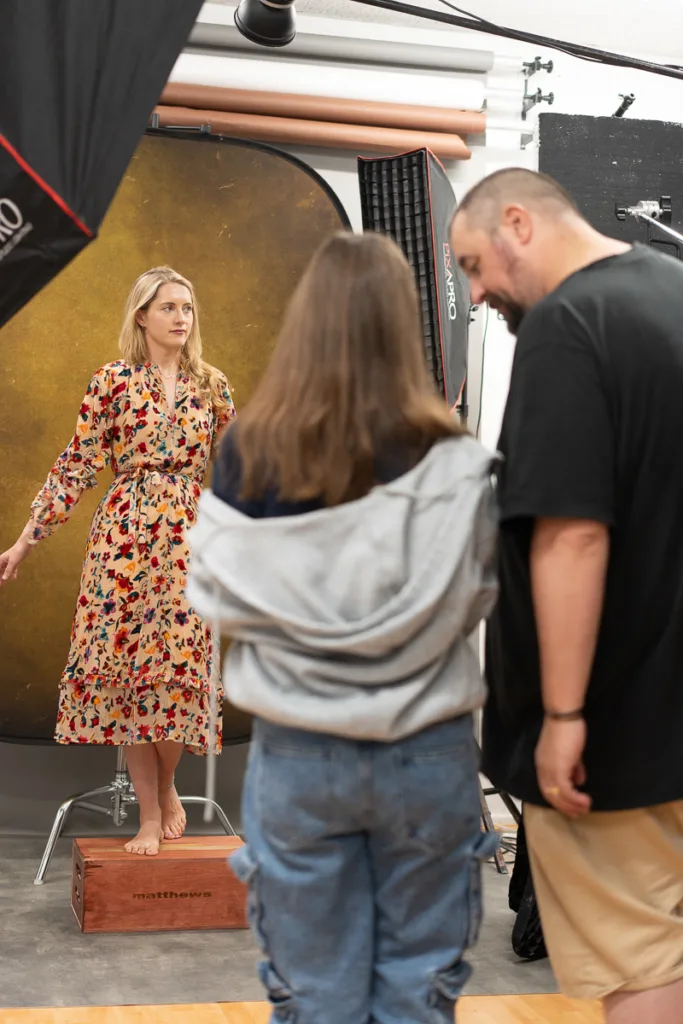
Once we had covered the theoretical side, it was time to apply it. Sam took control of the camera while I supported with technical tips and guidance. Chentelle changed outfits during the session, and we used both a grey and gold backdrop to explore how background colour impacts mood and tone. We discussed colour contrast, framing, and how posture affects the overall shape and composition of an image.
Sam grew in confidence as the session progressed. At the start she was hesitant with camera settings and giving direction, but by the end, she was clearly more comfortable. She was asking smart questions, checking her light positions, and really engaging with the learning process.
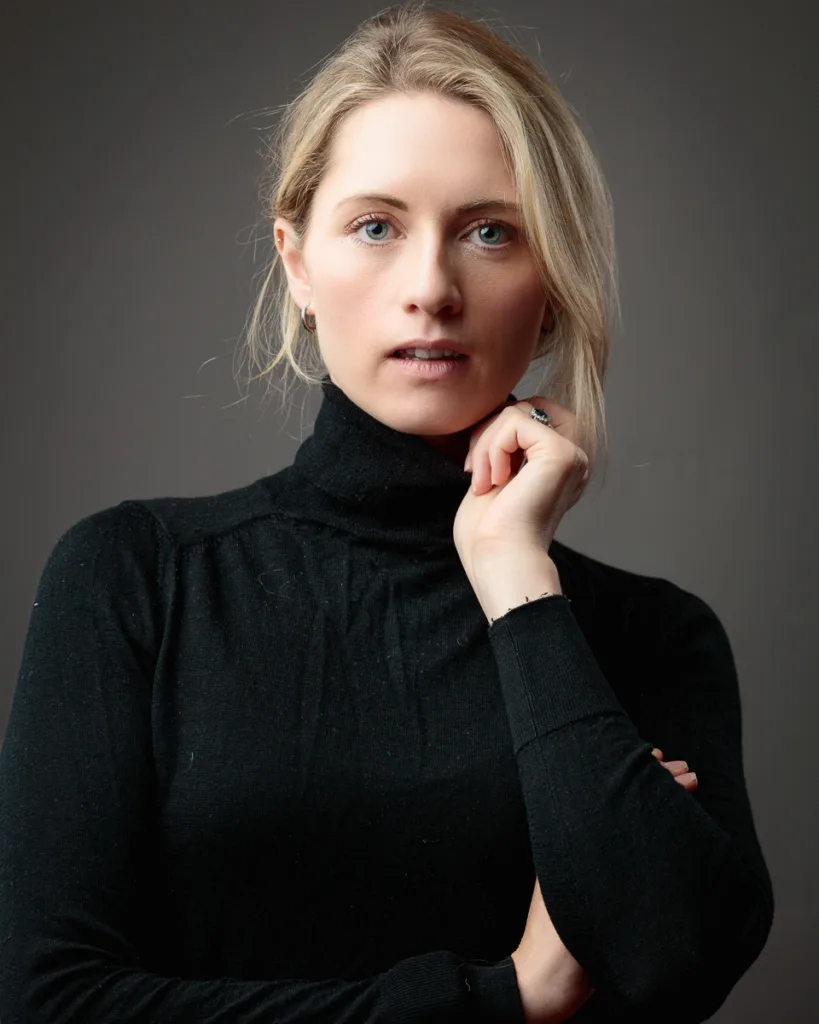
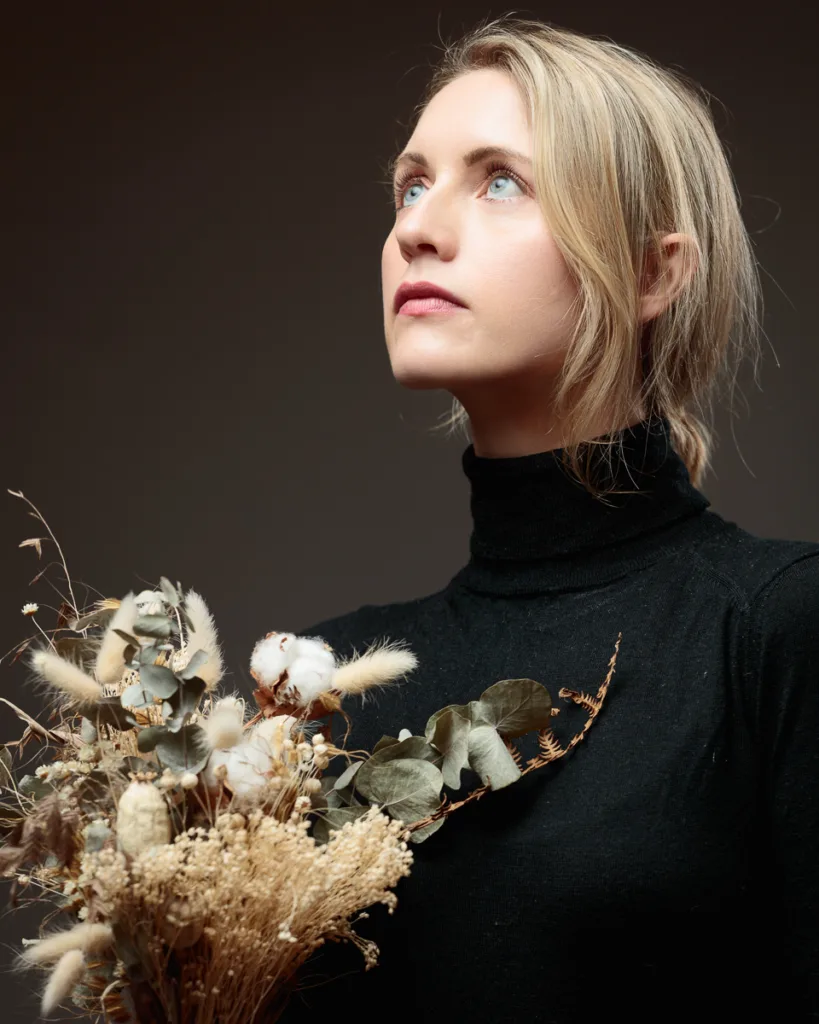
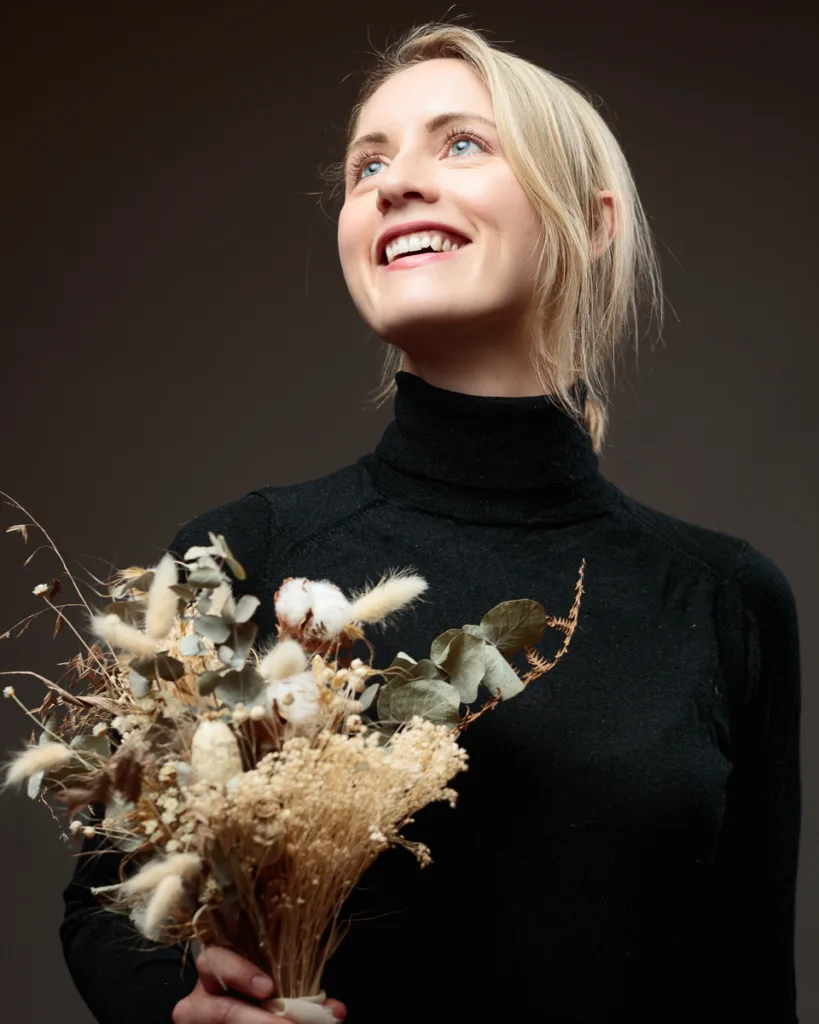
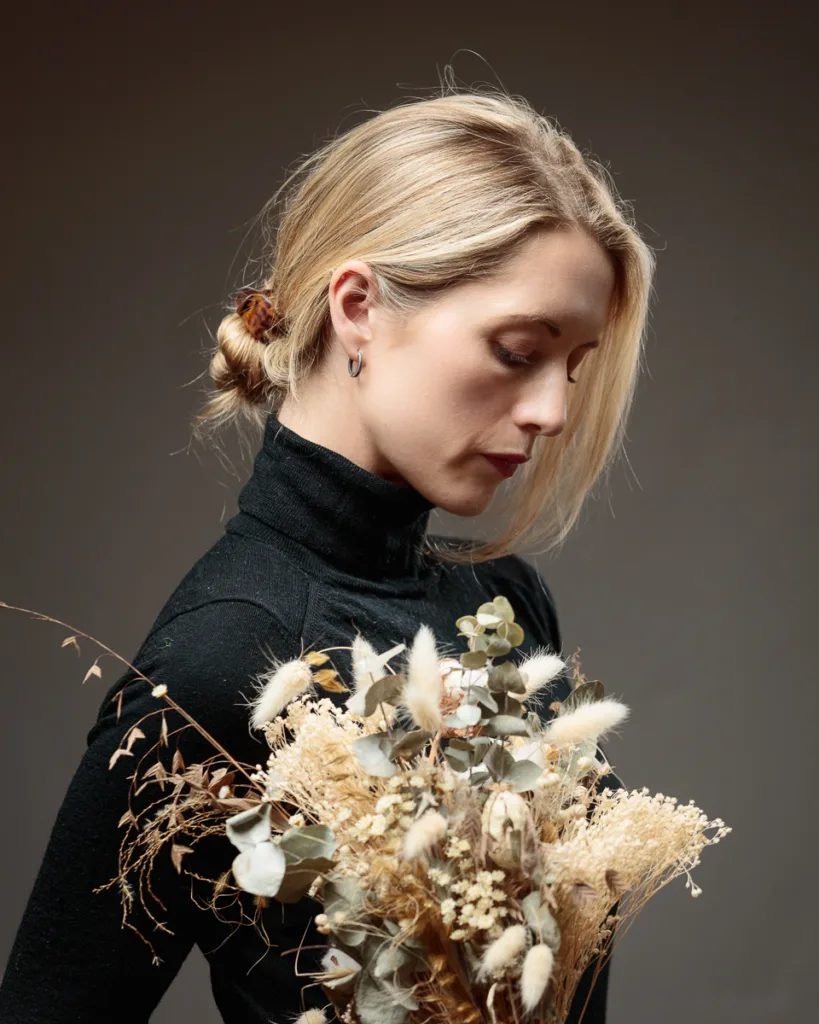
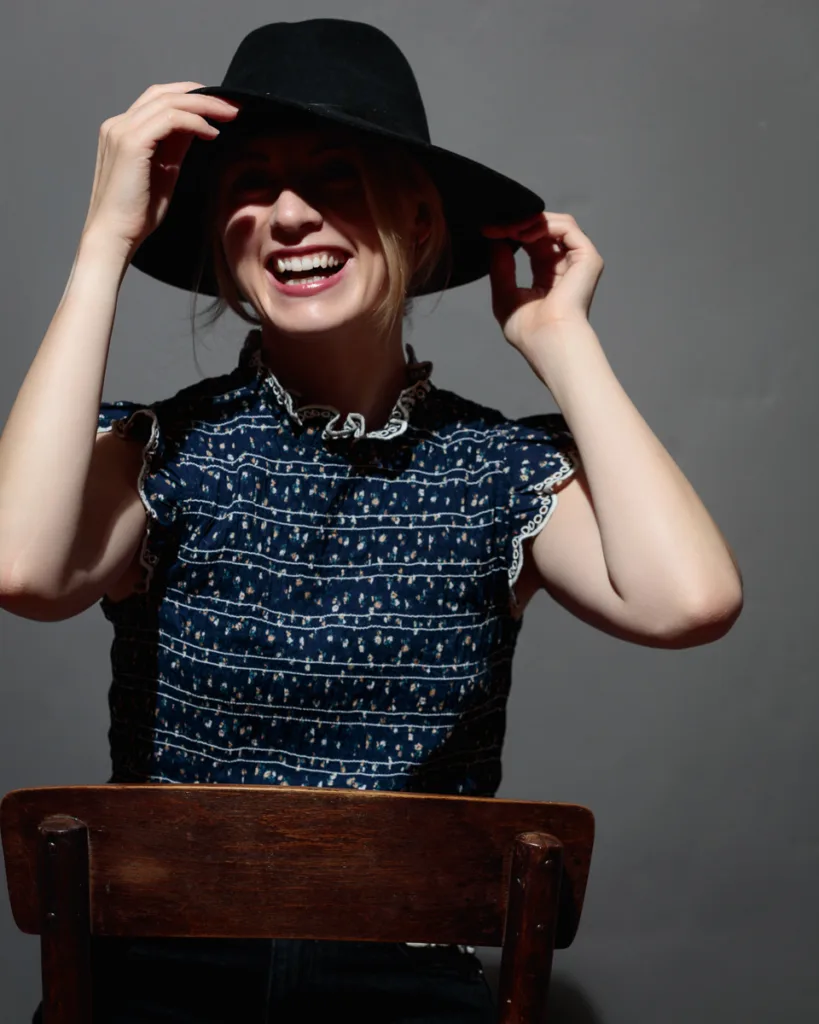
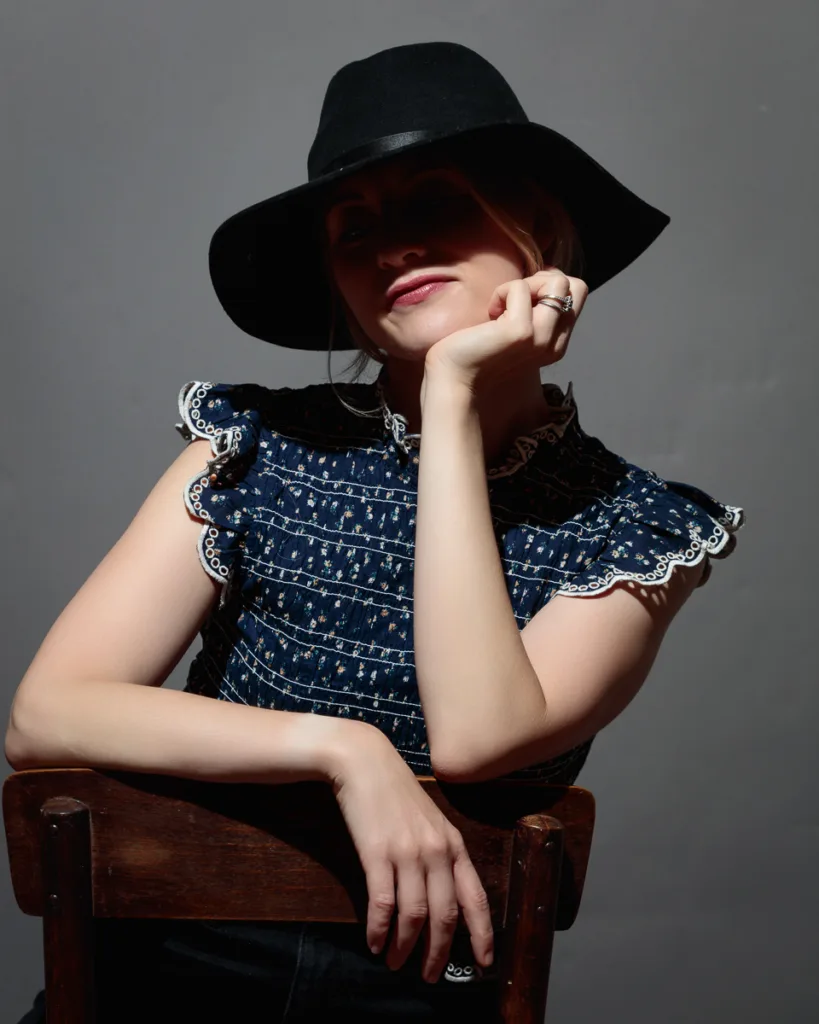
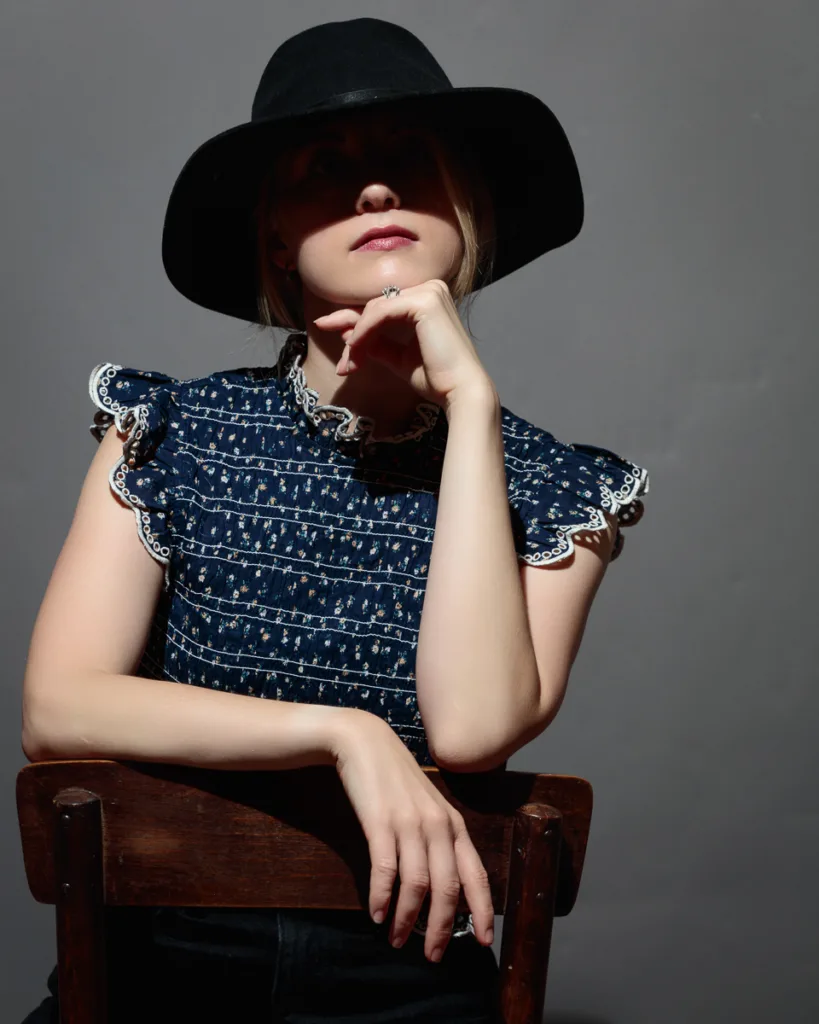
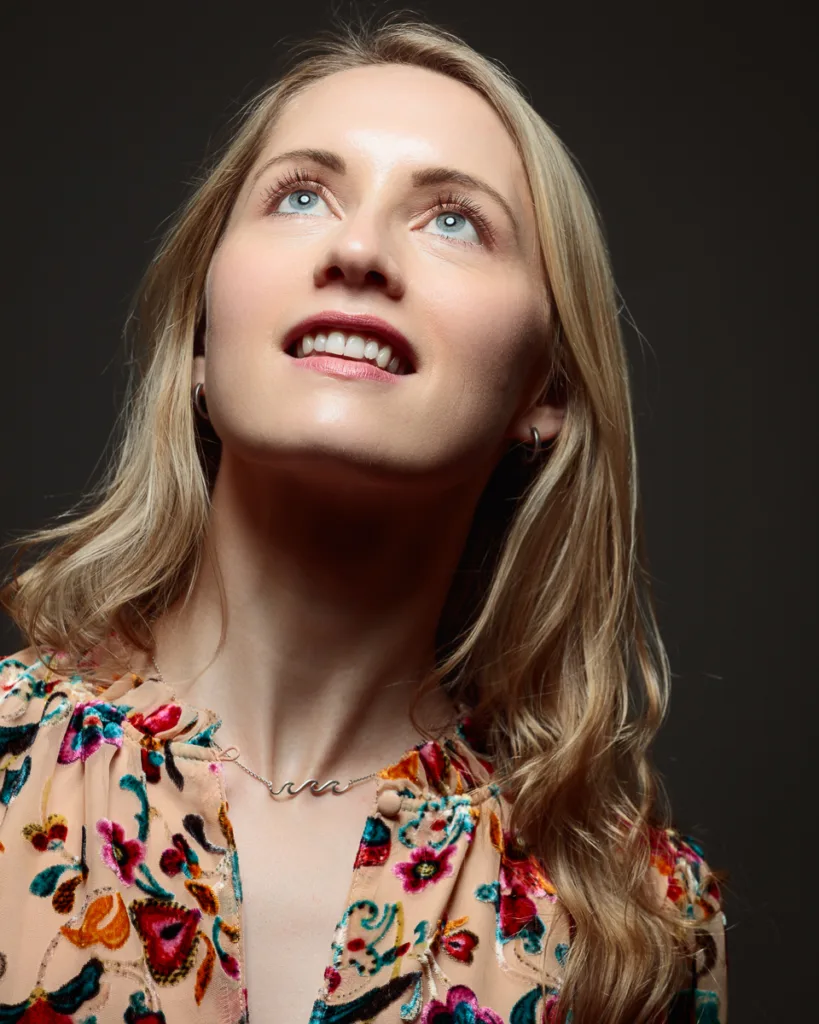
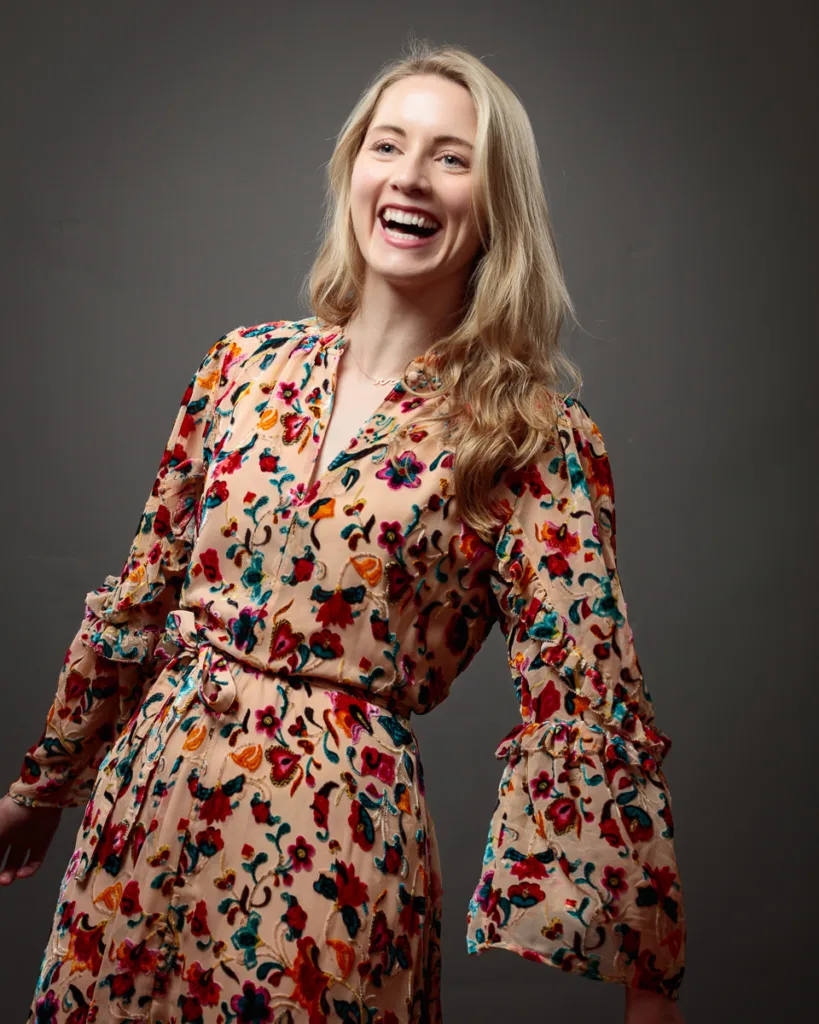
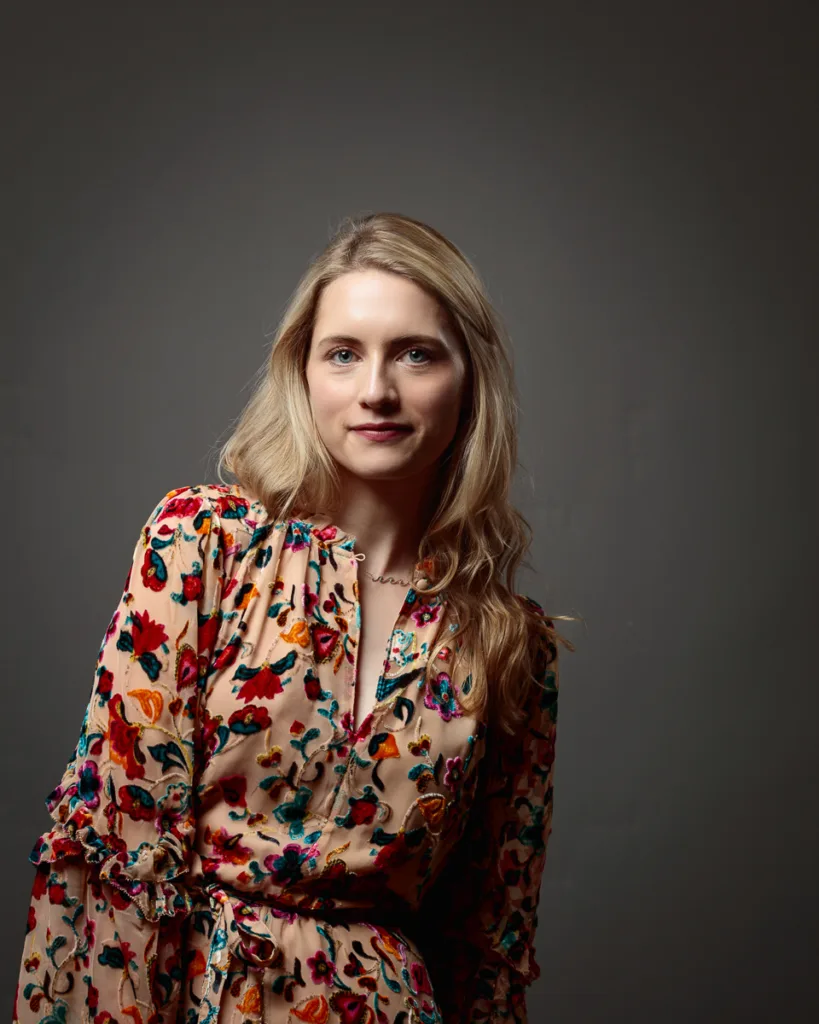
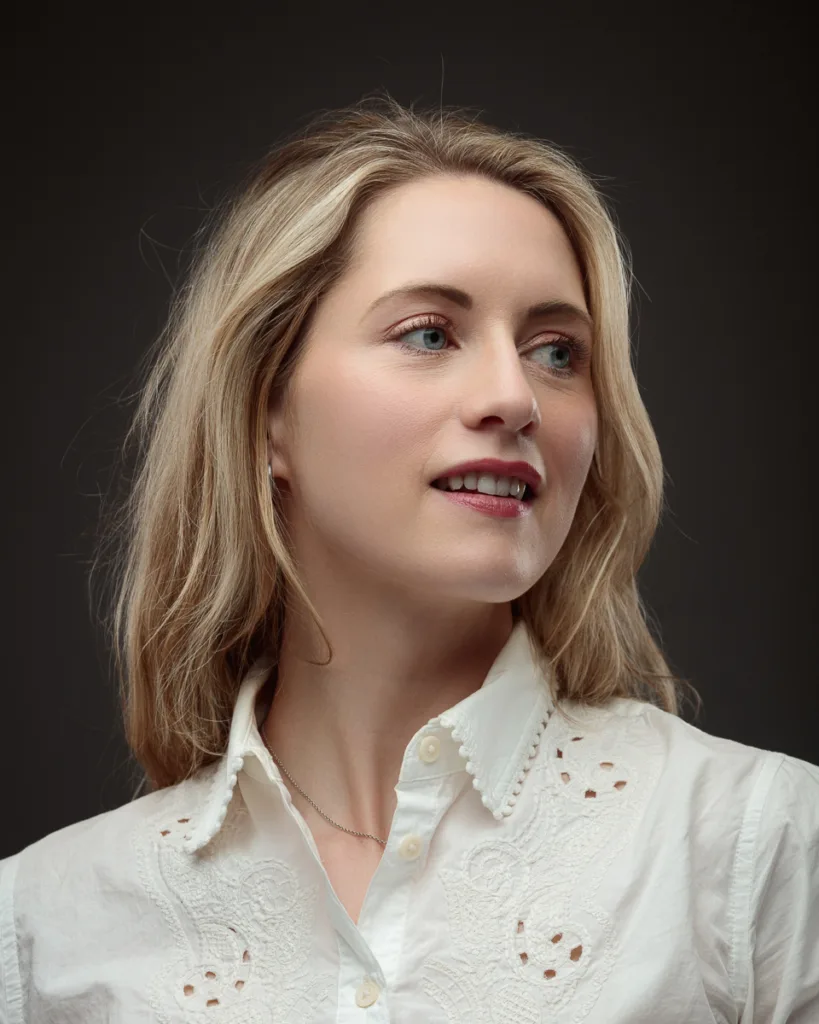
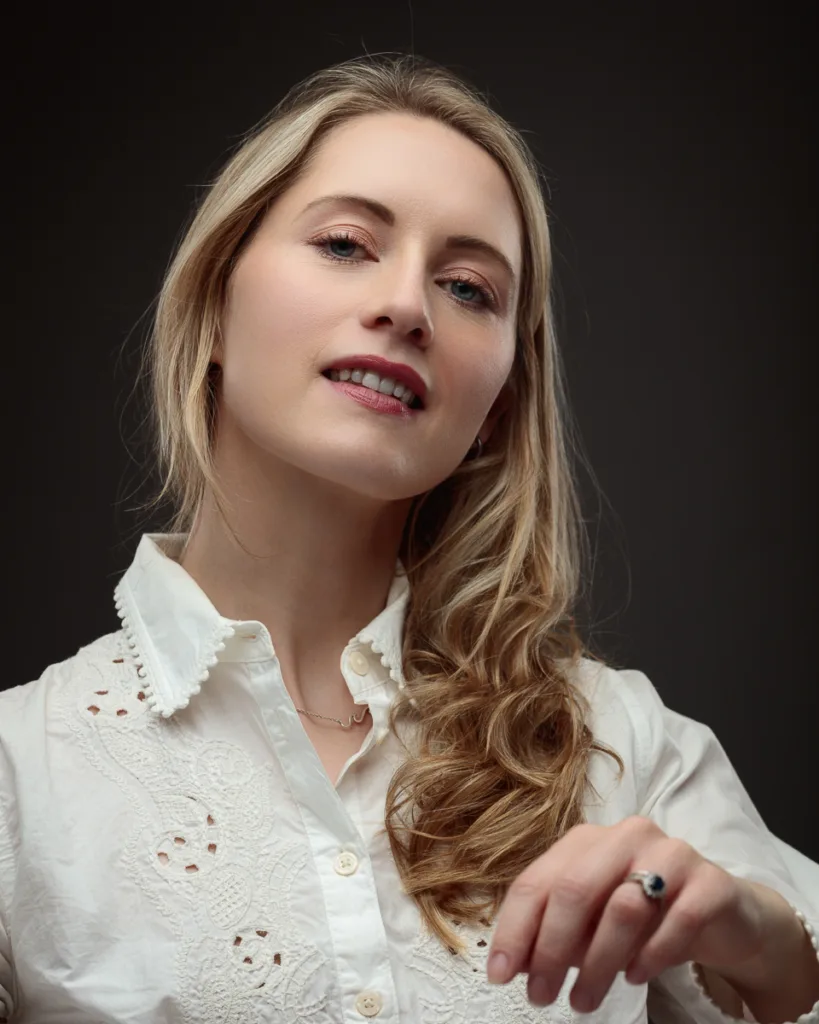
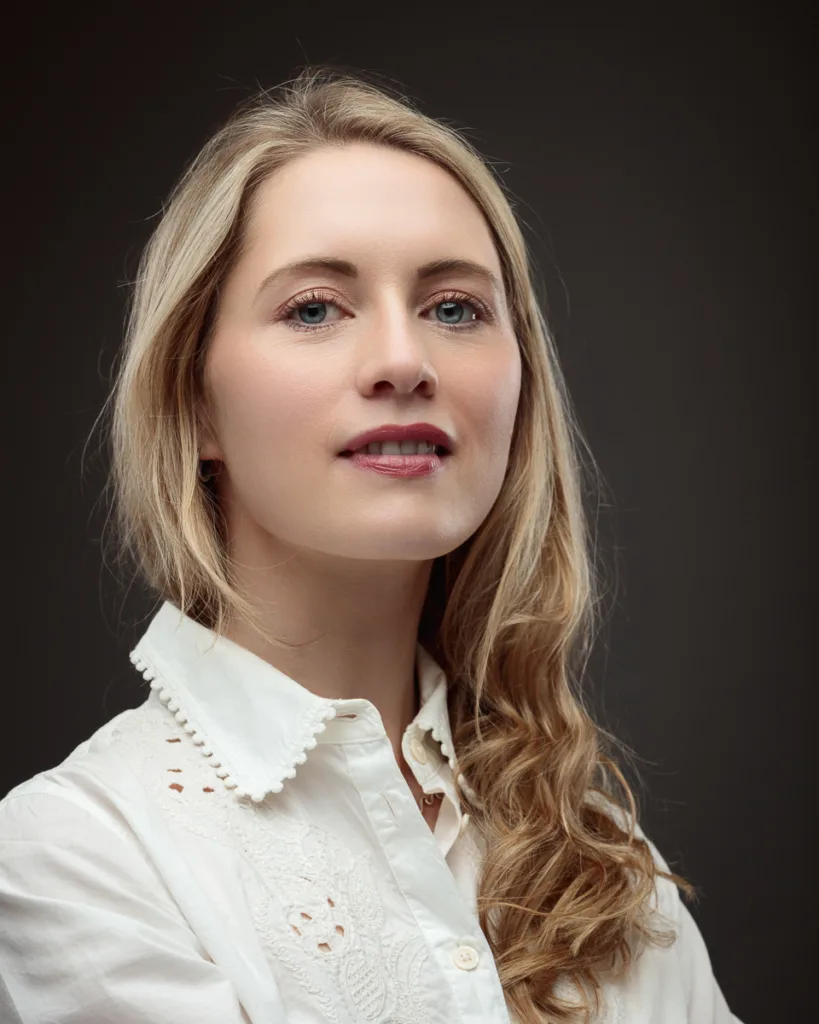
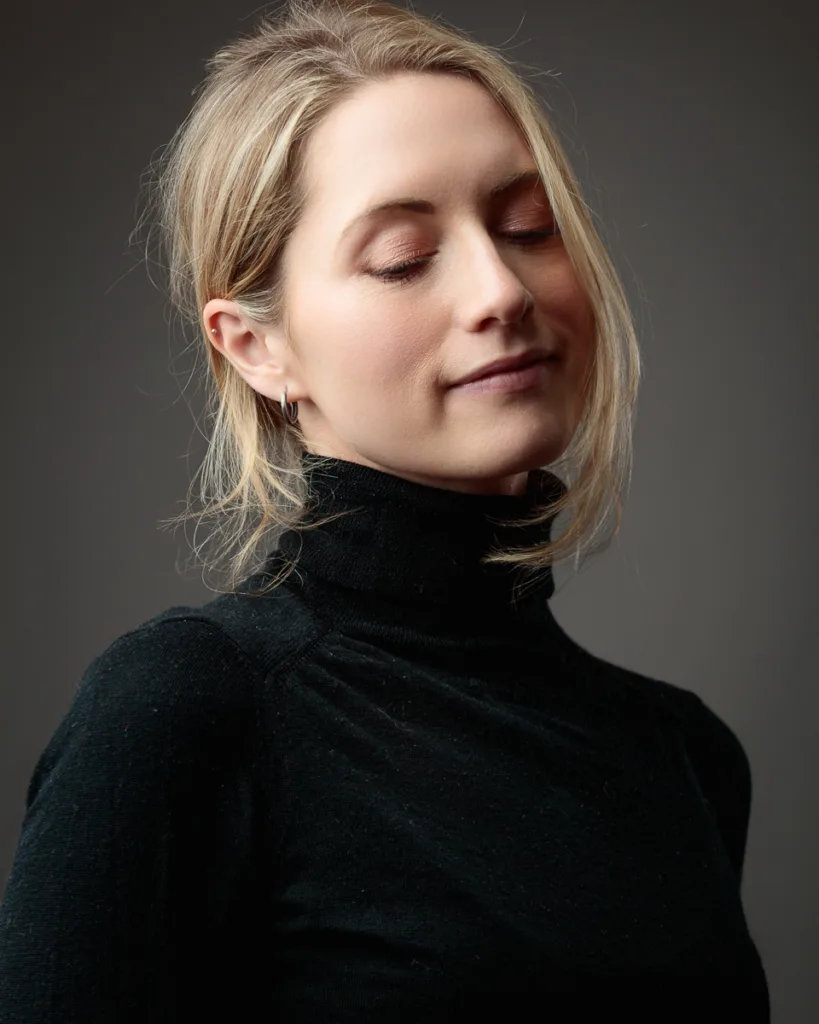
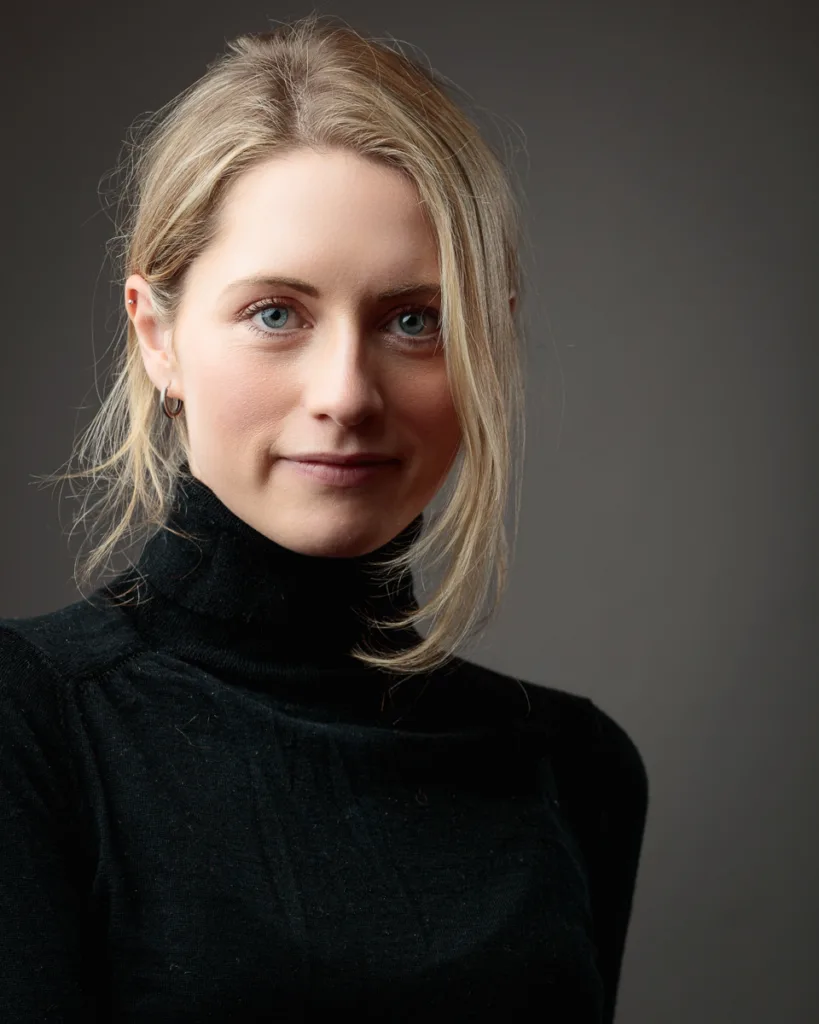
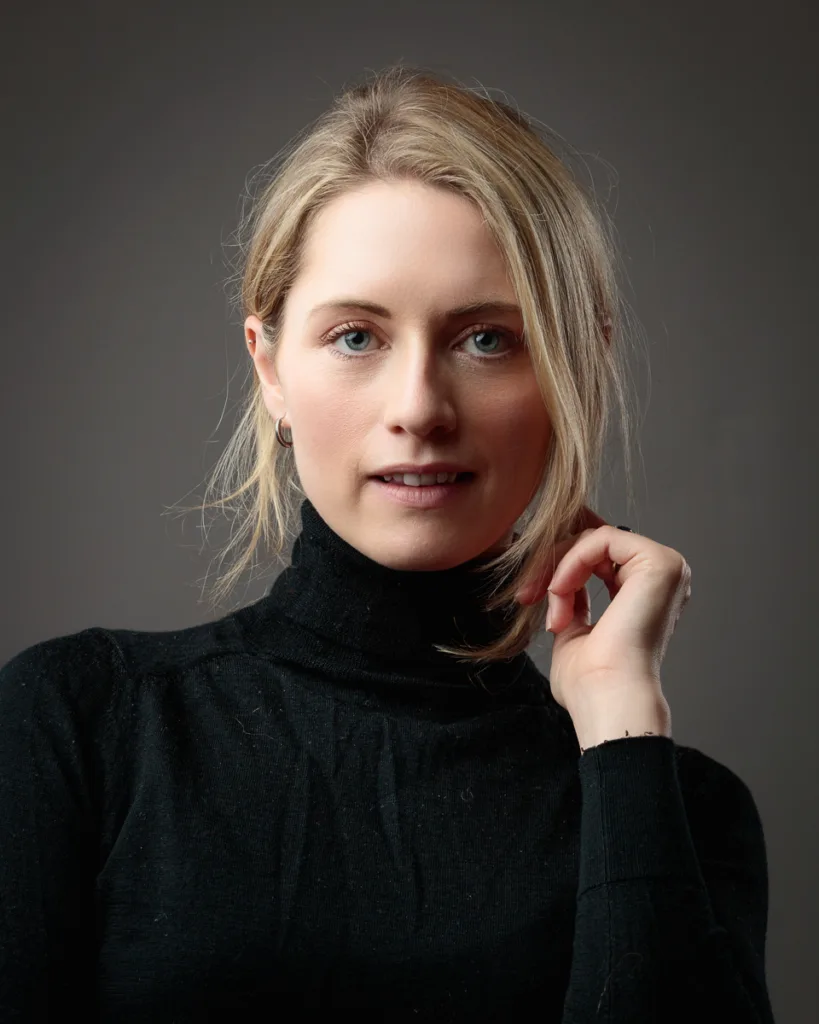
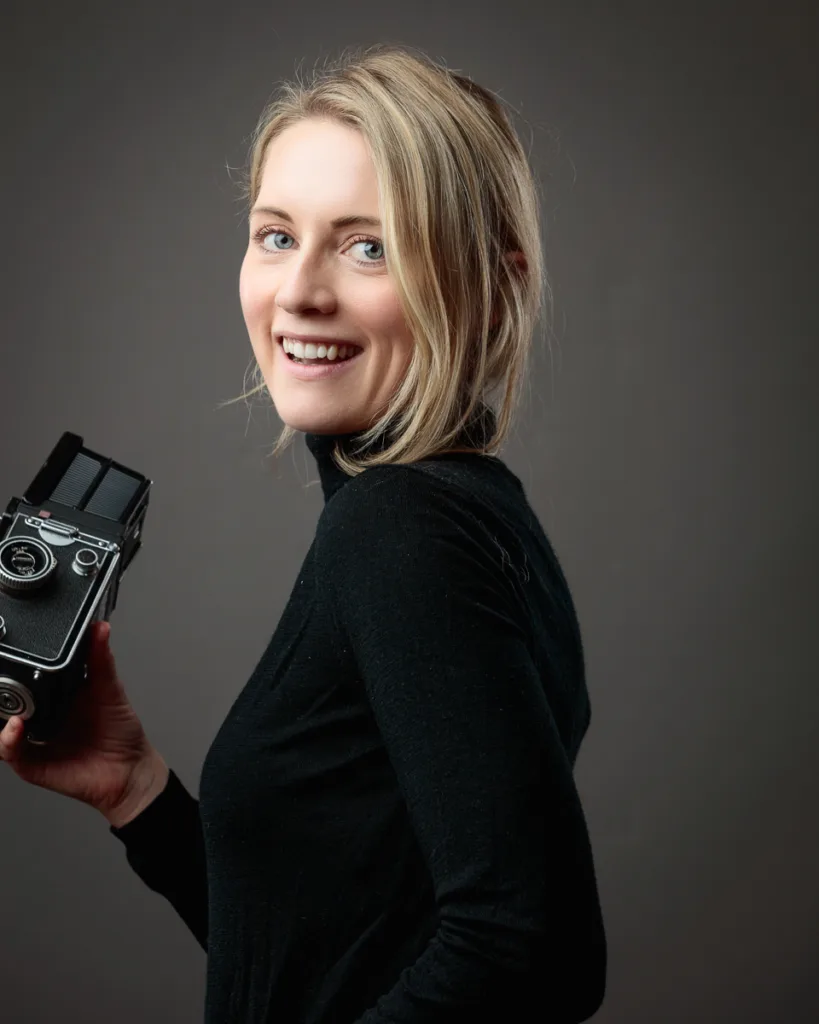
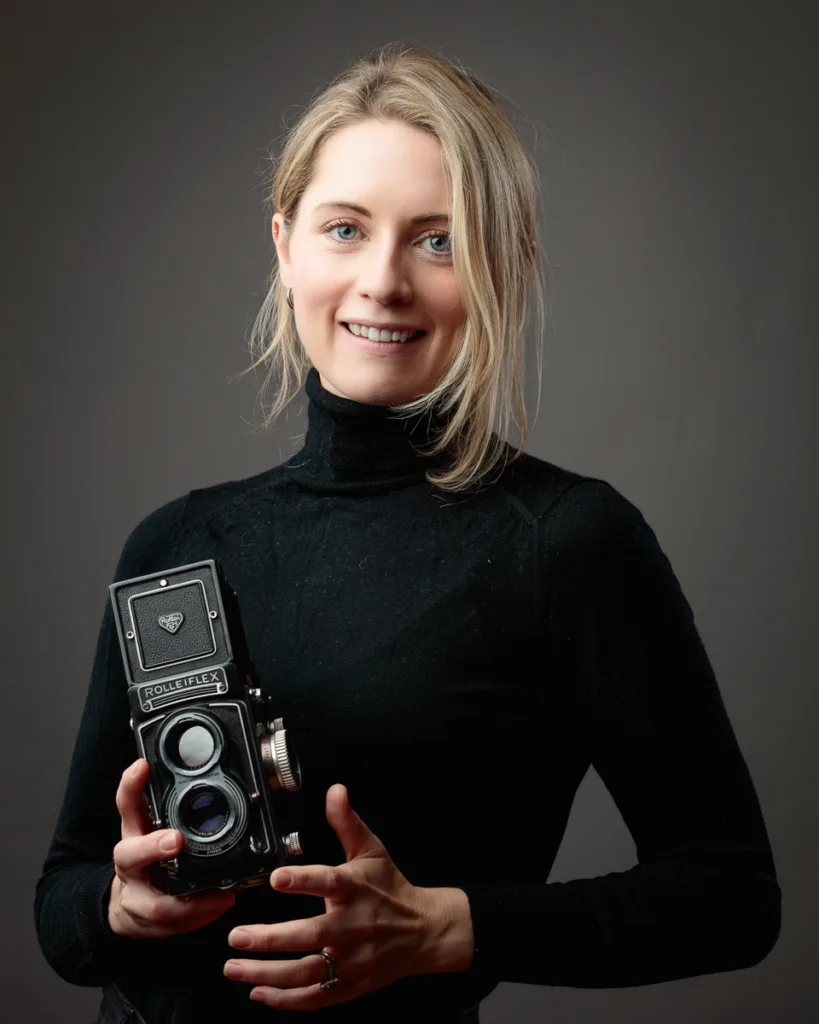
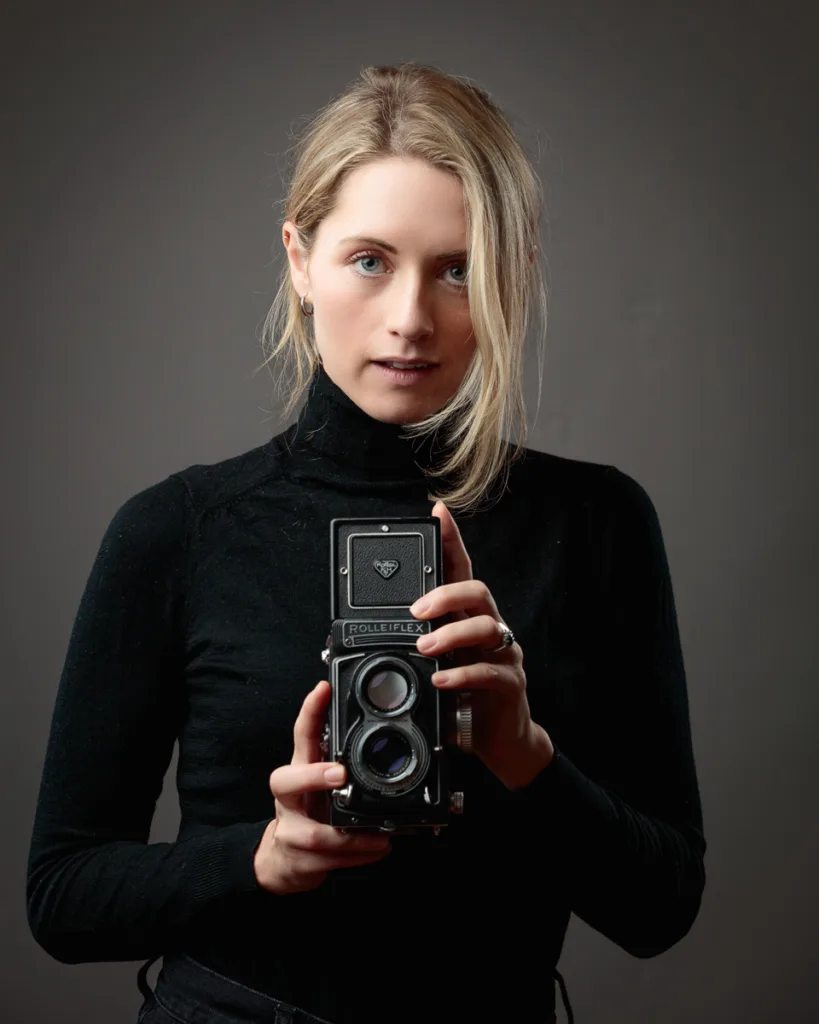
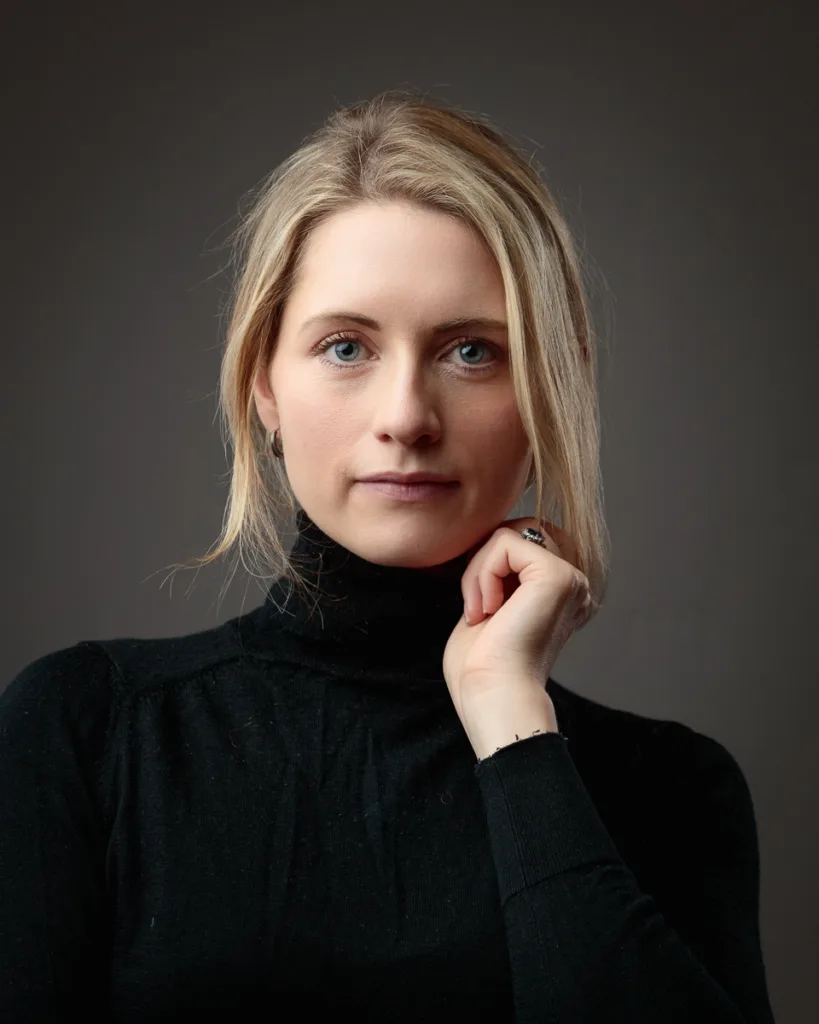
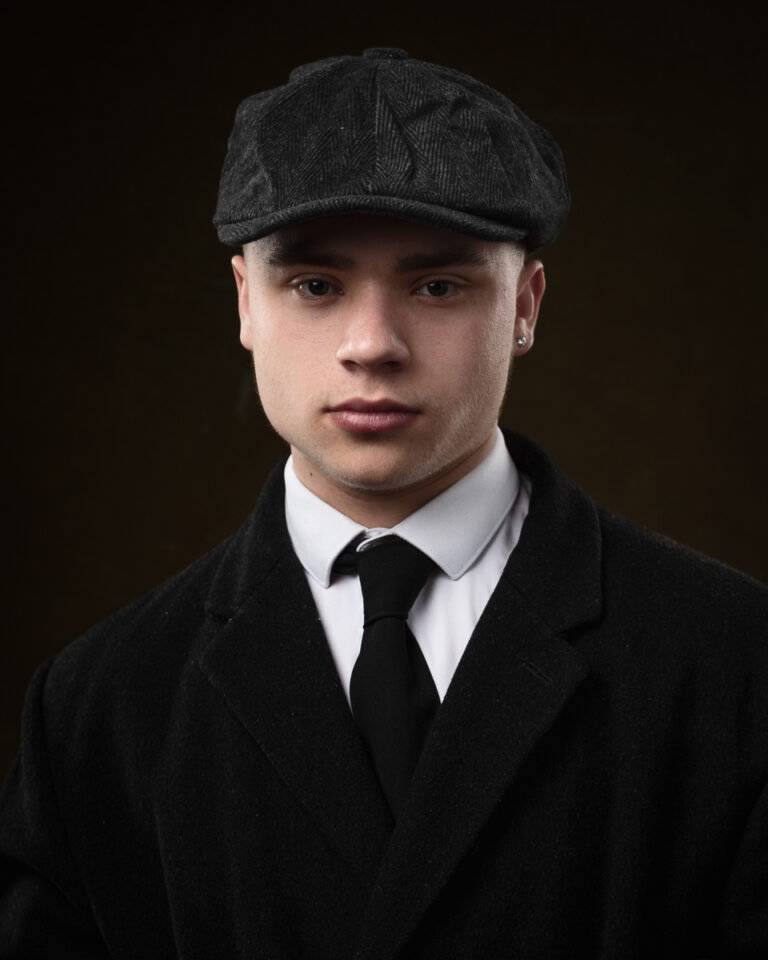
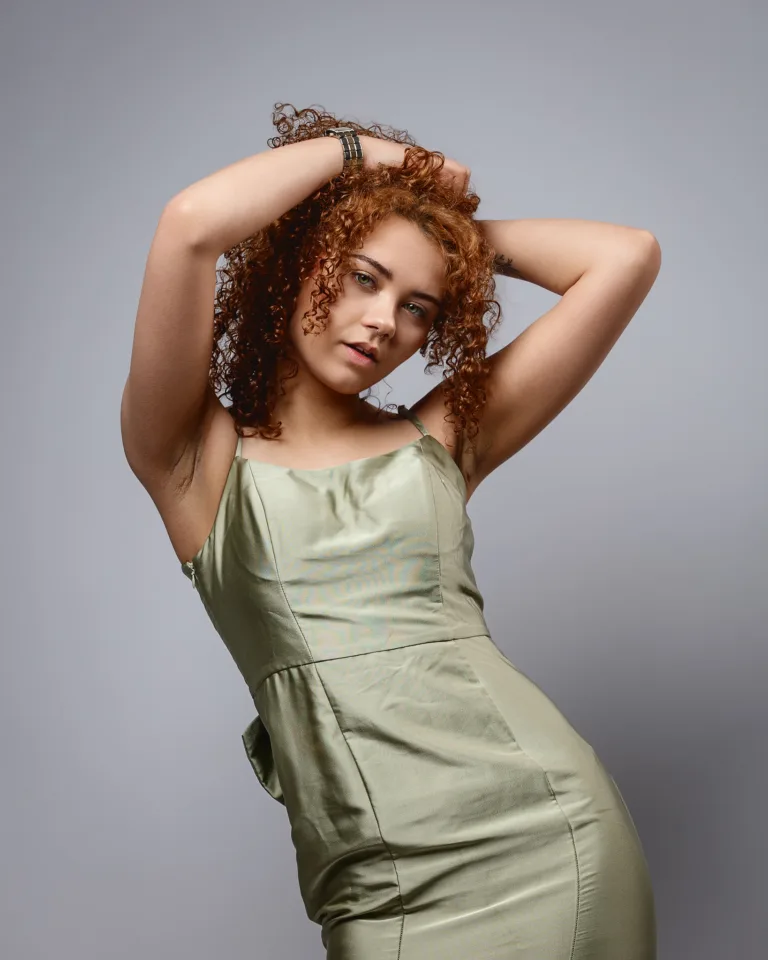
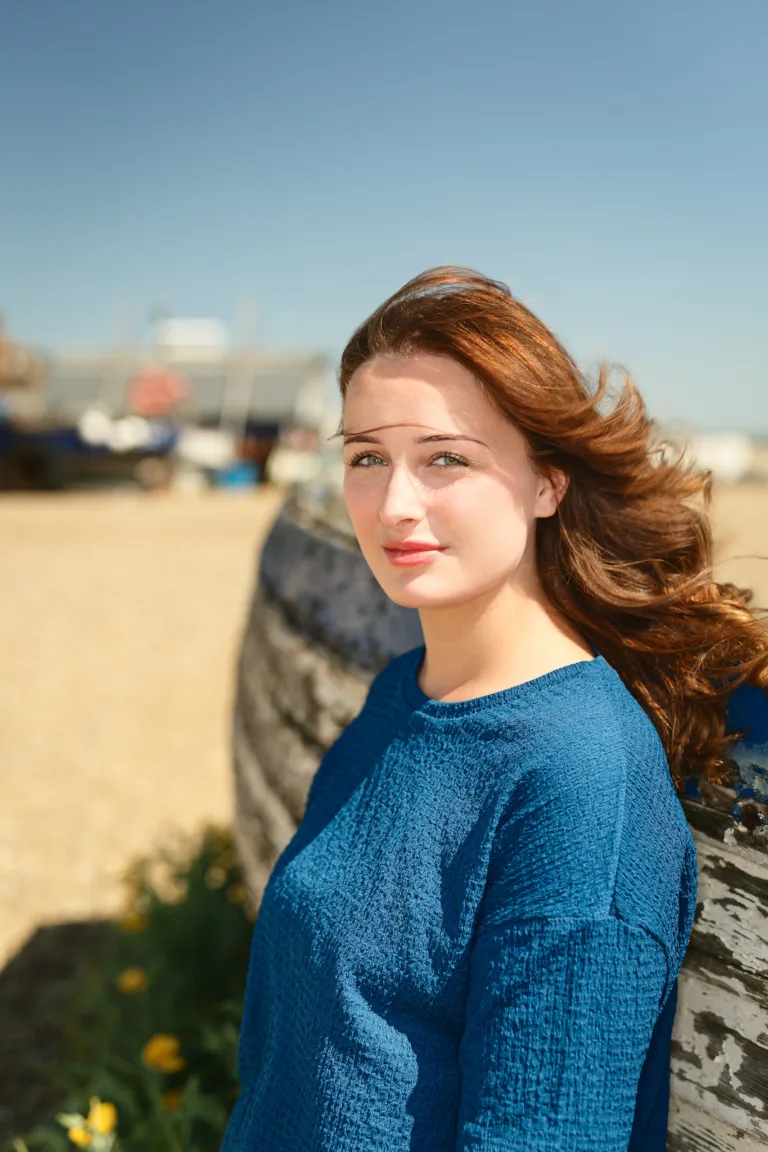
I also captured a few demonstration shots of Chentelle throughout the session. These helped show lighting effects and could be used to talk through posing and visual storytelling. The portraits we produced highlight the subtle shifts in mood created by changing just one or two lighting variables.
Positive Feedback and Progress
Sam and her father were both a pleasure to host. They gave great feedback at the end of the session and appreciated the detail we went into, especially the combination of technical setup and practical shooting. I always aim to leave learners feeling more informed and more capable, and Sam left with a stronger understanding of how to use light creatively and with purpose.
Sessions like this are about much more than just using a camera. They’re about seeing light, understanding creative control, and learning how to work respectfully with people in a studio environment. These are skills that build over time, and this session was a great foundation for Sam to develop further.
Want to Learn Studio Photography?
If you’re interested in building your skills in lighting and portrait photography, I offer 1-to-1 sessions tailored to your level and interests. You don’t need to be a professional or even have prior studio experience. Whether you’re a GCSE student, hobbyist, or someone simply curious about how lighting works, you’re welcome to book a session.
Here’s a helpful starting point:
Want to Learn Studio Photography?
Join a 1-to-1 session and gain hands-on experience with lighting, camera techniques, and studio setup. Perfect for beginners, students, or anyone wanting to sharpen their skills.
Explore Studio Photography SessionsChentelle’s Final Image Gallery
I’ll be added a dedicated gallery below featuring the final edited portraits of Chantelle from this session. These images were taken during the lighting setups we explored with Sam, showing how the theory translates into beautiful, polished portraits.